The glass look effect is one of the most popular trends in graphic design these days. It’s used in all types of designs, from UI to icon designs.
There are many variations of the glass look effect, like the frosted glass effect that’s commonly used in user interface designs. And the broken glass effect that’s used to create cool photo manipulations.
Today, we show you how to create these popular glass effects in Photoshop, with step-by-step instructions. We’ve included three different ways to create the glass look effect in Photoshop, ranging from easy to hard difficulty.
Don’t worry, you don’t need expert-level experience to create the glass effect. You can also use the pre-made templates to create the effect instantaneously, which can be found at the end of the article.
Let’s get started.
How To Create Photoshop Glass Effect
There are many different styles of glass effects out there. Obviously, we couldn’t cover them all in this article. Instead, we’ll go over 3 of the most popular glass effects used in graphic design.
Method 1 (Easy): Use A Template
Using a template is the easiest way to create the glass effect in Photoshop. For this demonstration, we’re going to use a broken glass effect template from Envato Elements.
Step 1: Download the glass effect template. Once it’s downloaded, look for the ZIP file in your downloads folder. Extract the ZIP file to find the PSD template.
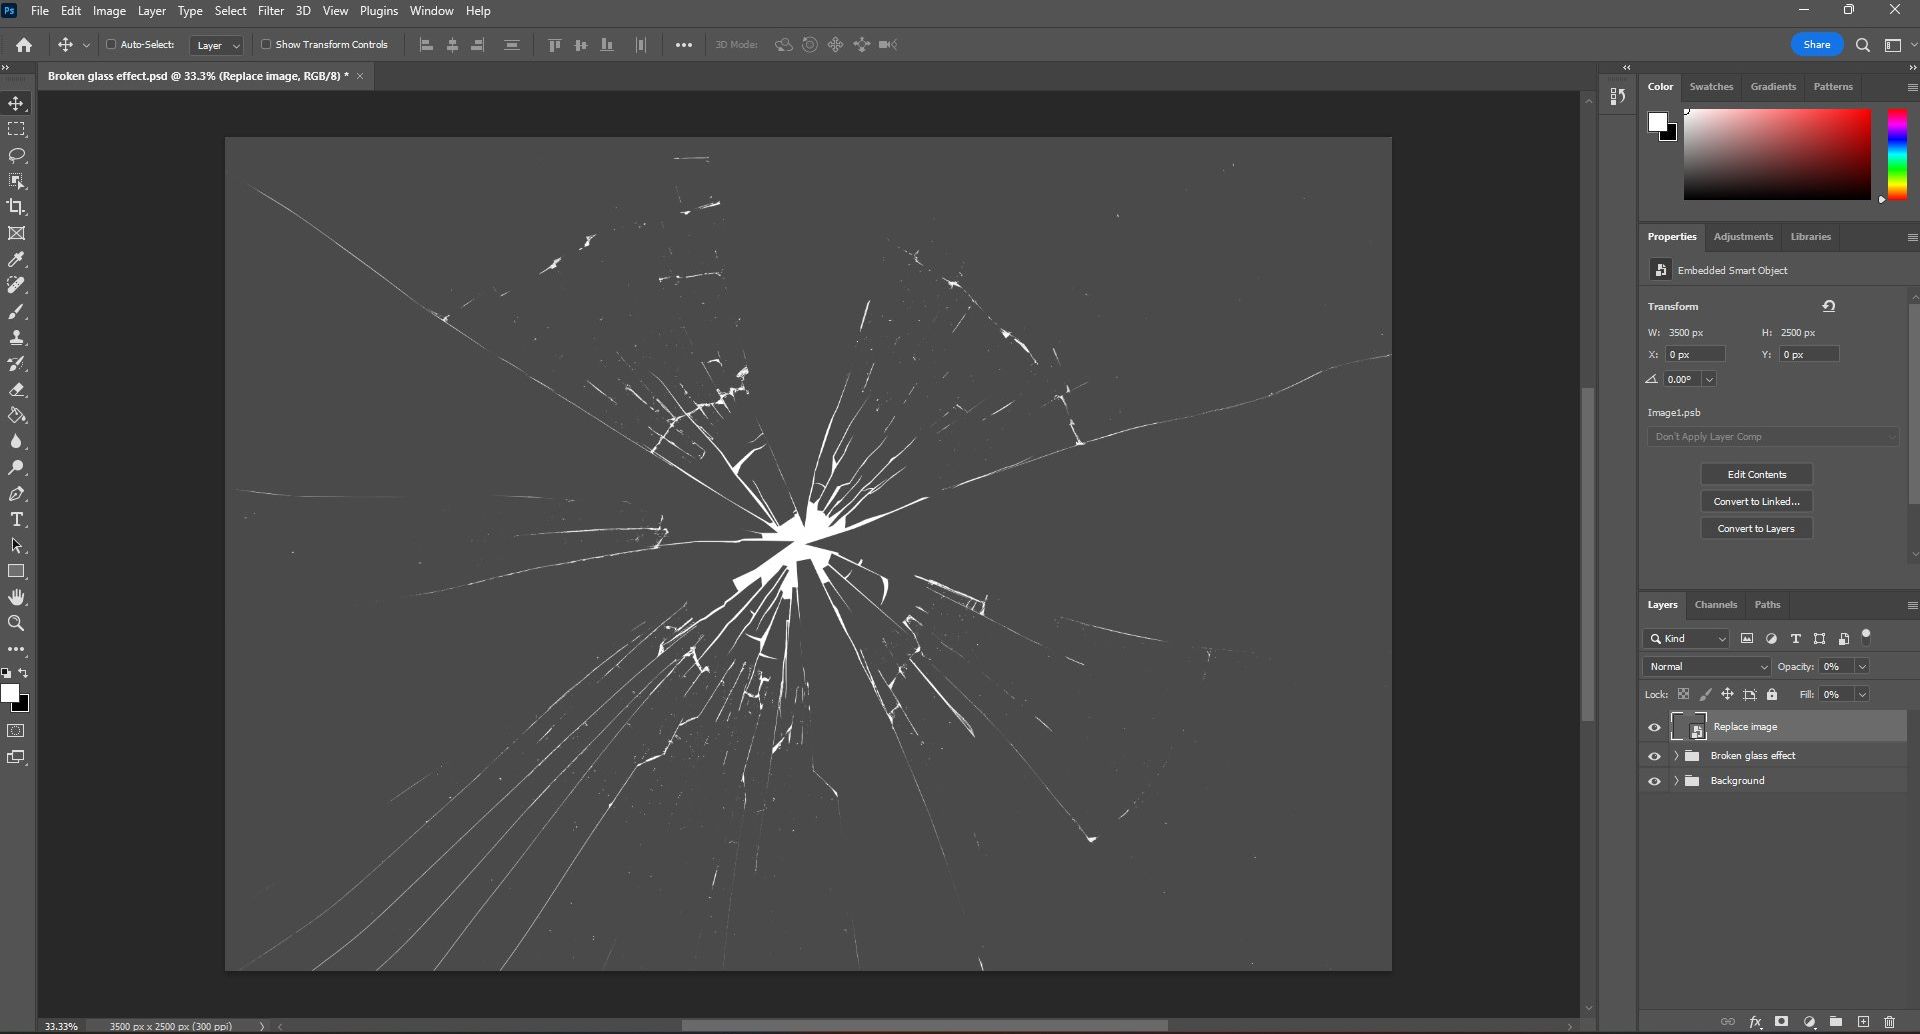
Step 2: Open the broken glass effect PSD template by double-clicking on the file. This will open the template in Photoshop.
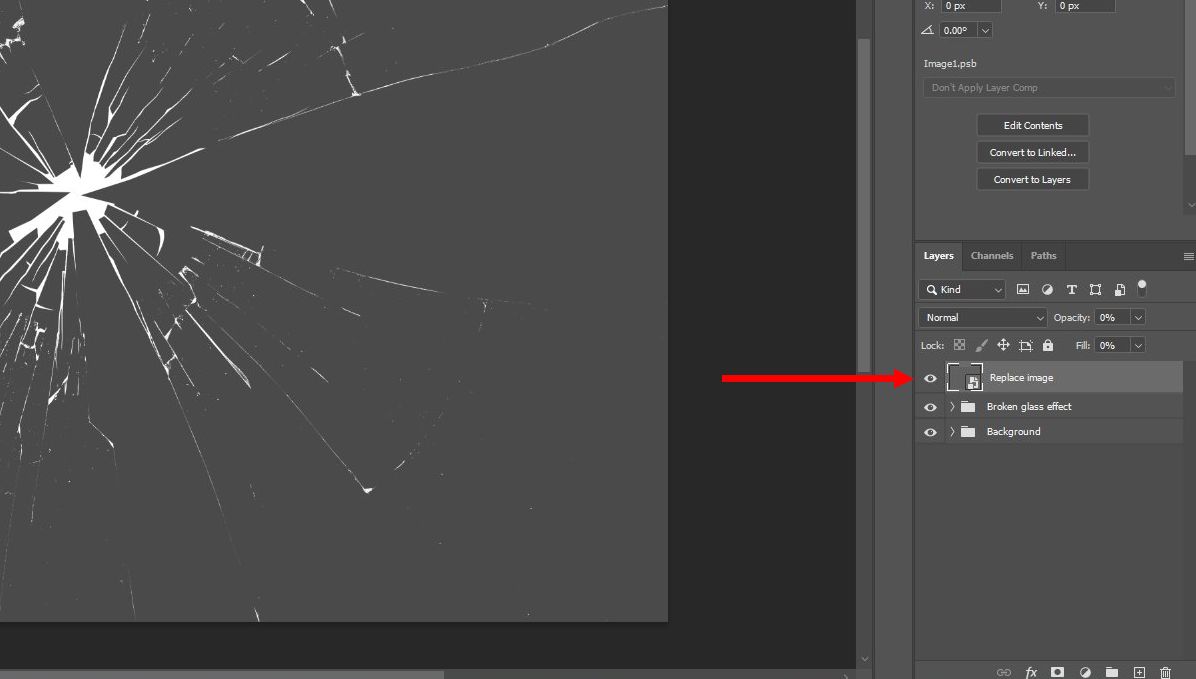
Step 3: Once you have the template opened in Photoshop, go to the layers panel to find the Smart Object layer. Double-click on this layer to open it.
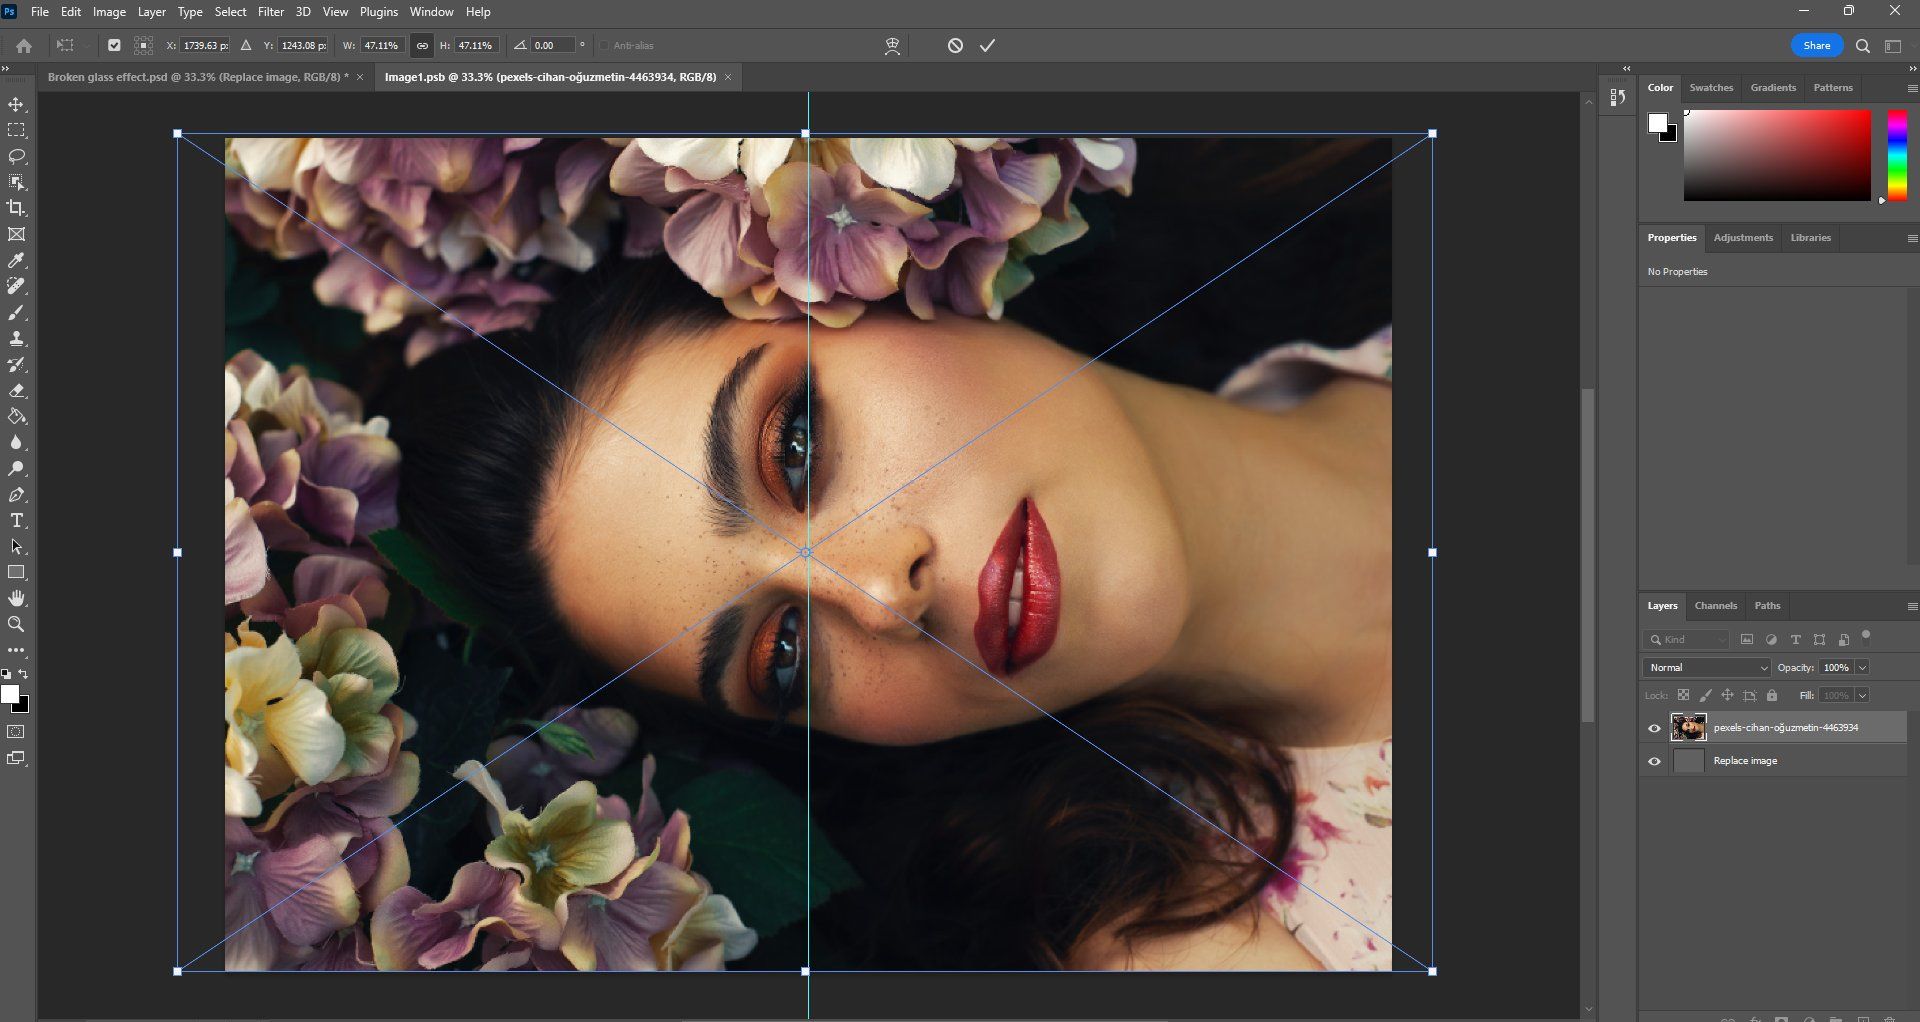
Step 4: Switch to the Smart Object layer window. Now copy and paste your photo or image into this Smart Object window. Then press Control or Command + S to save the Smart Object layer.
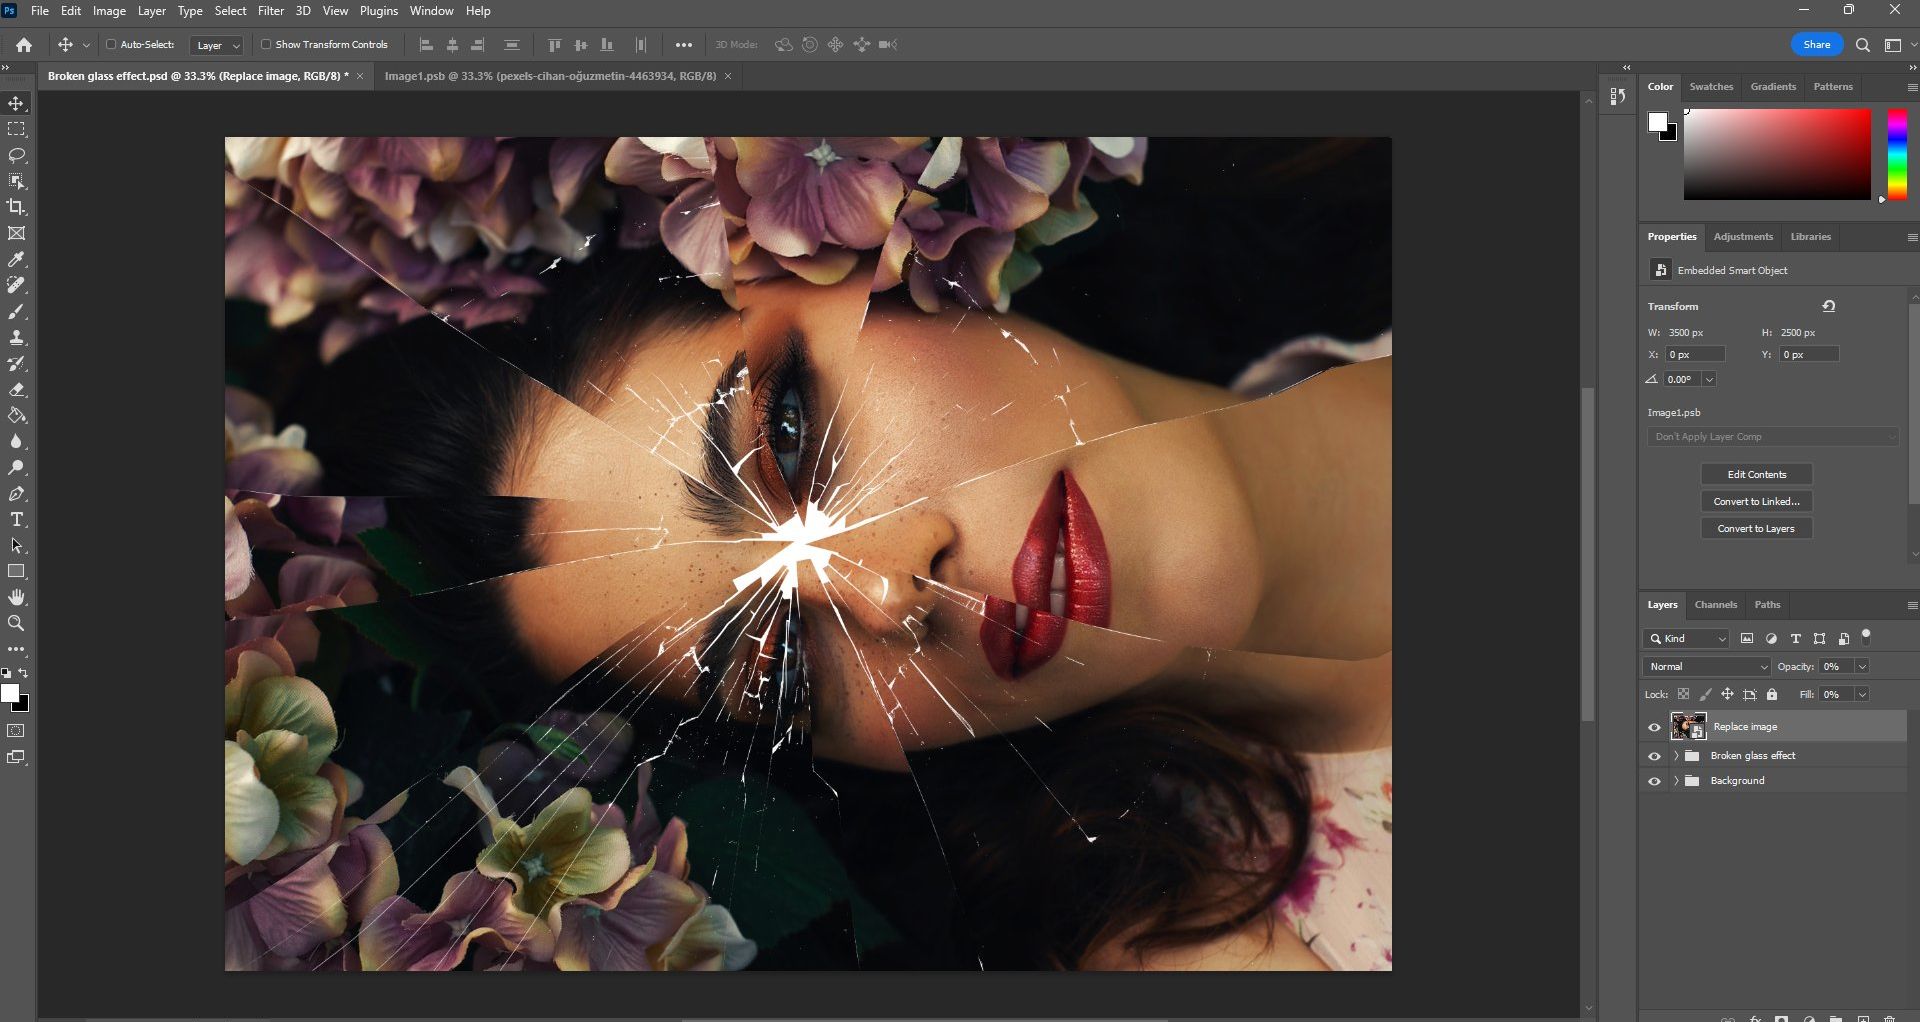
That’s it! You can go back and edit the smart object layer to change the image anytime you want. And you can customize the effect using the adjustment layers in the layers panel.
Method 2 (Medium): DIY Glass Look Effect
If you want to create a simple glass look effect in Photoshop, you can easily create it in a few simple steps. Here’s how.
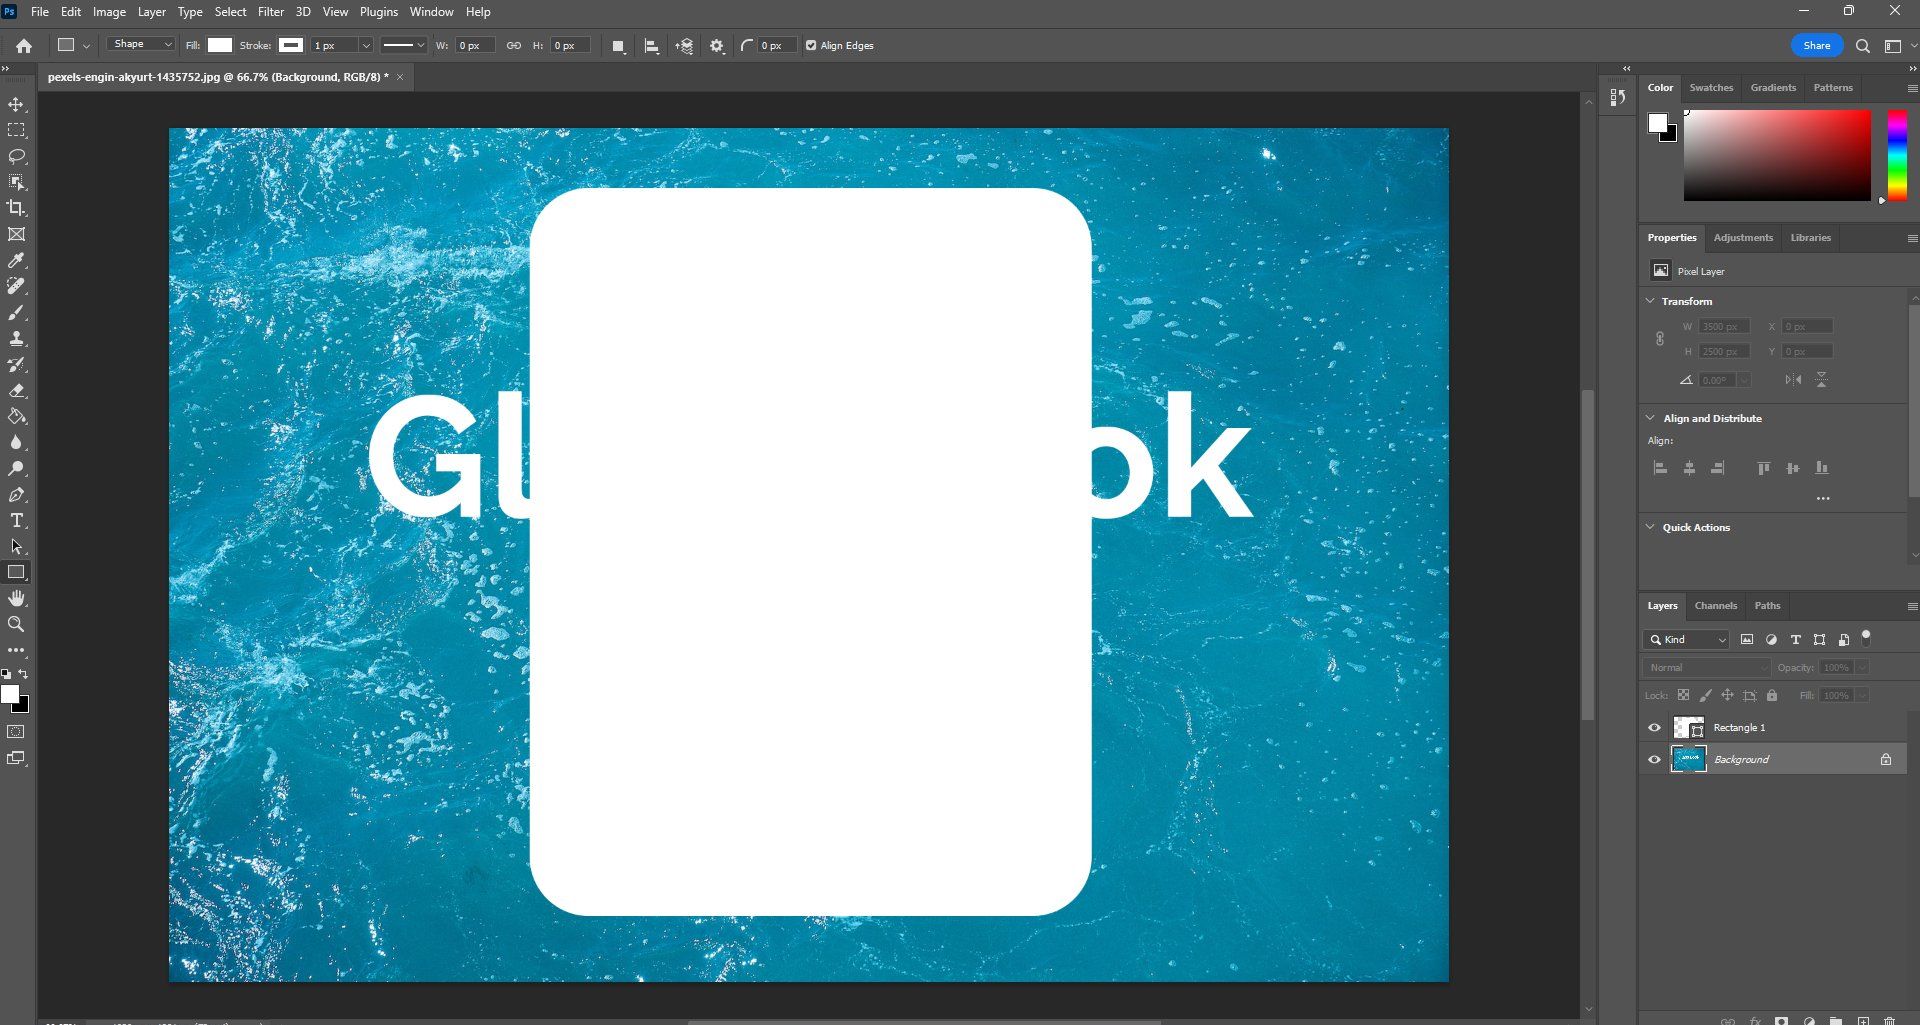
Step 1: Open the graphic or image you want to use for the effect in Photoshop. Then draw a simple Rectangle or any shape you want to create the glass look.
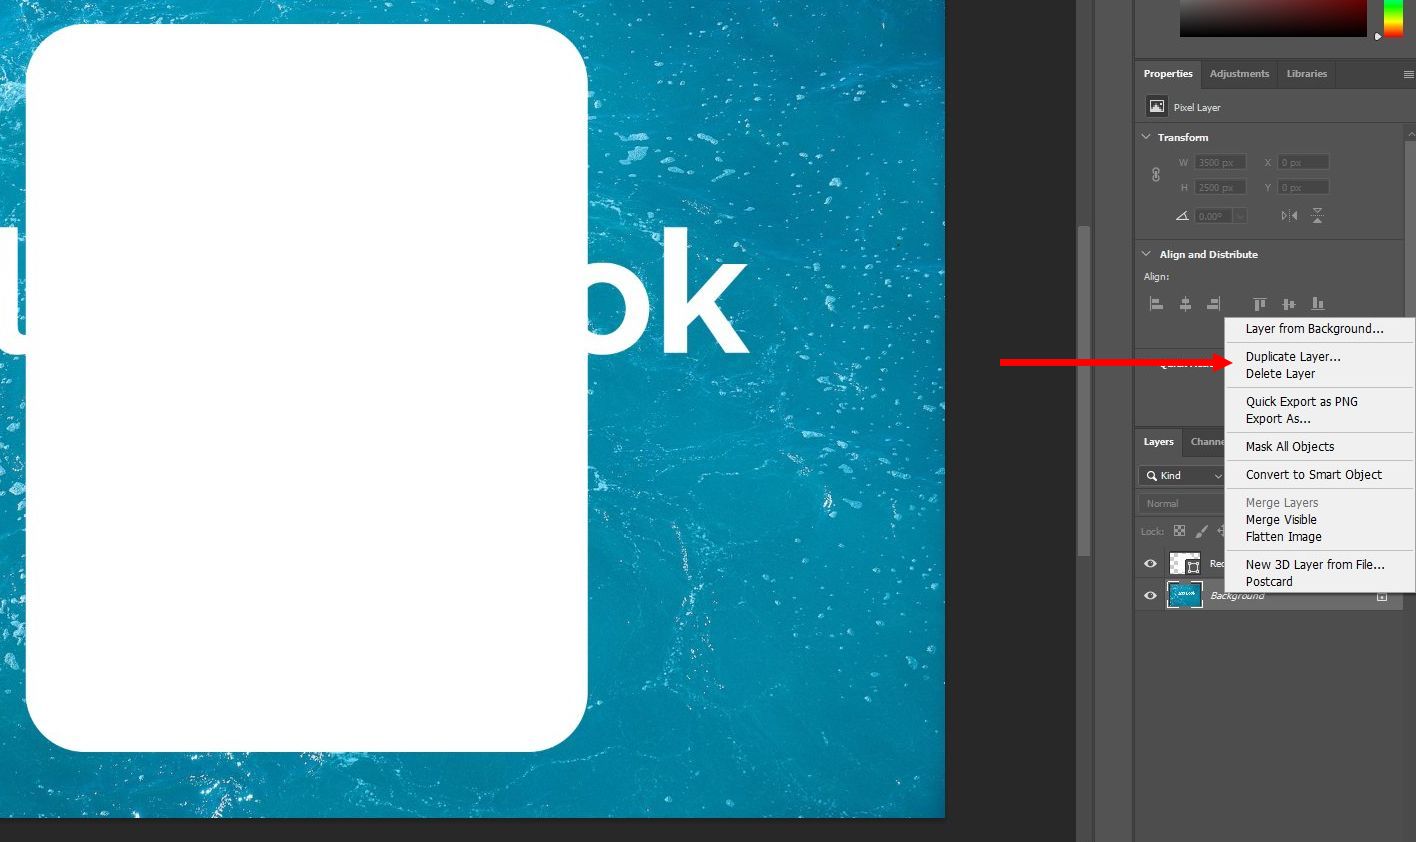
Step 2: Go to the Layers panel. Right-click on the background image and create a Duplicate layer. Then move it to the top of the layers list.
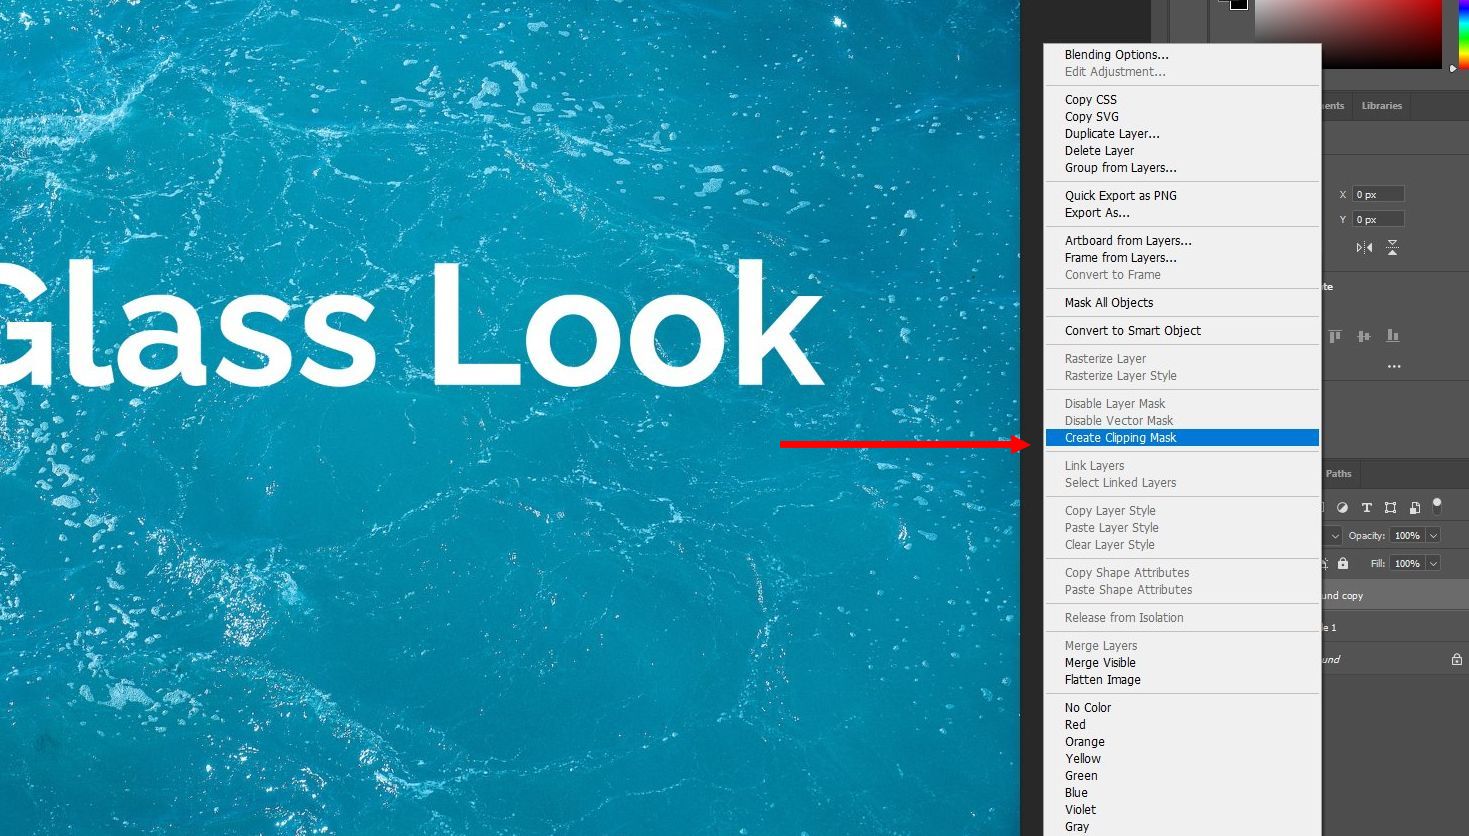
Step 3: Right-click on the duplicate layer and add a clipping mask to it. And finally, convert it into a smart object.
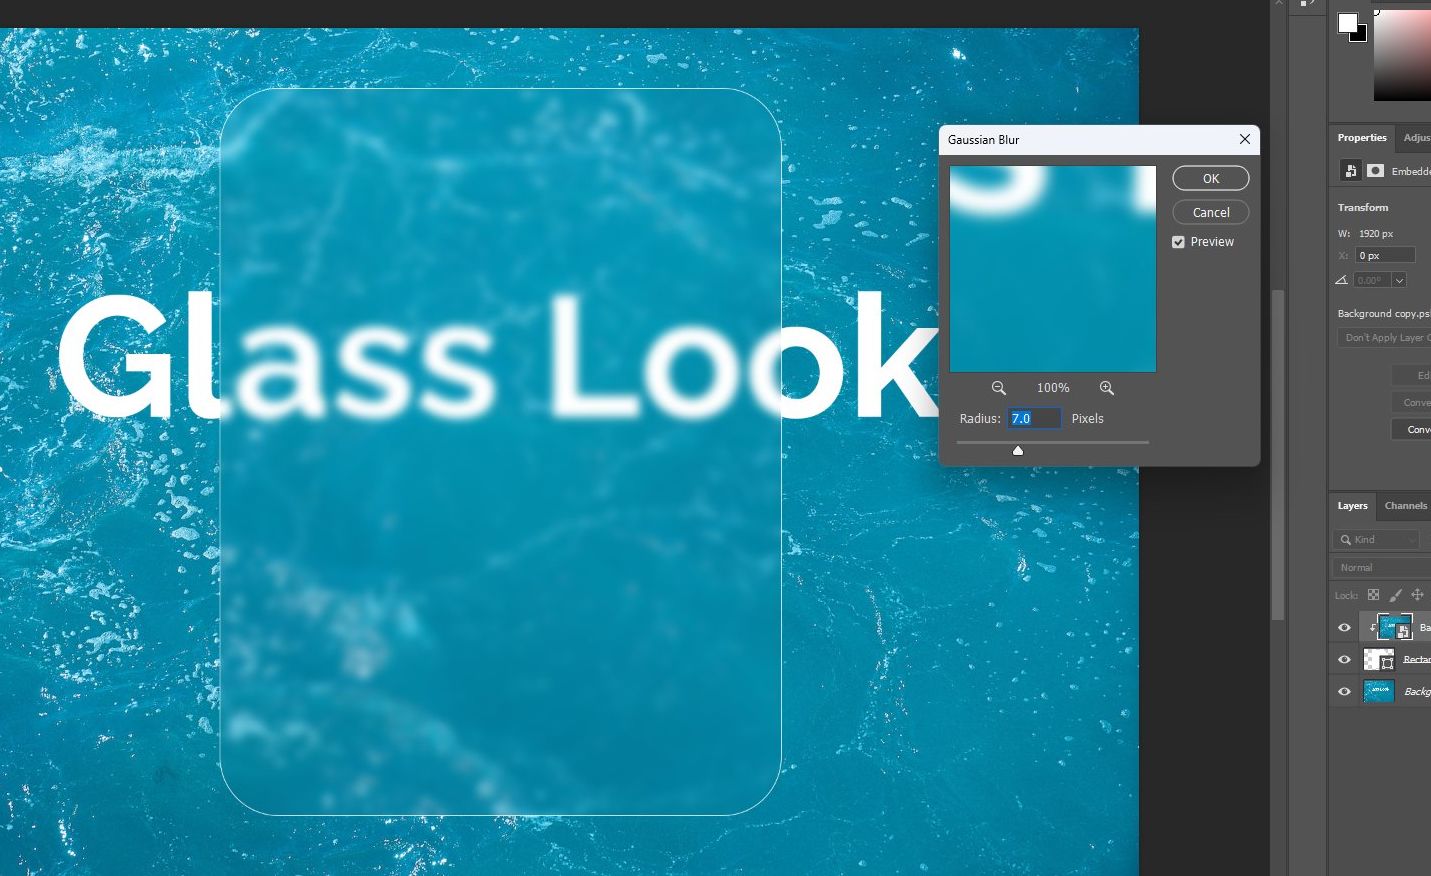
Step 4: While the duplicate layer is selected, go to the Filters menu and then to Blur and add a Gaussian Blur effect. Adjust the blur strength as necessary.
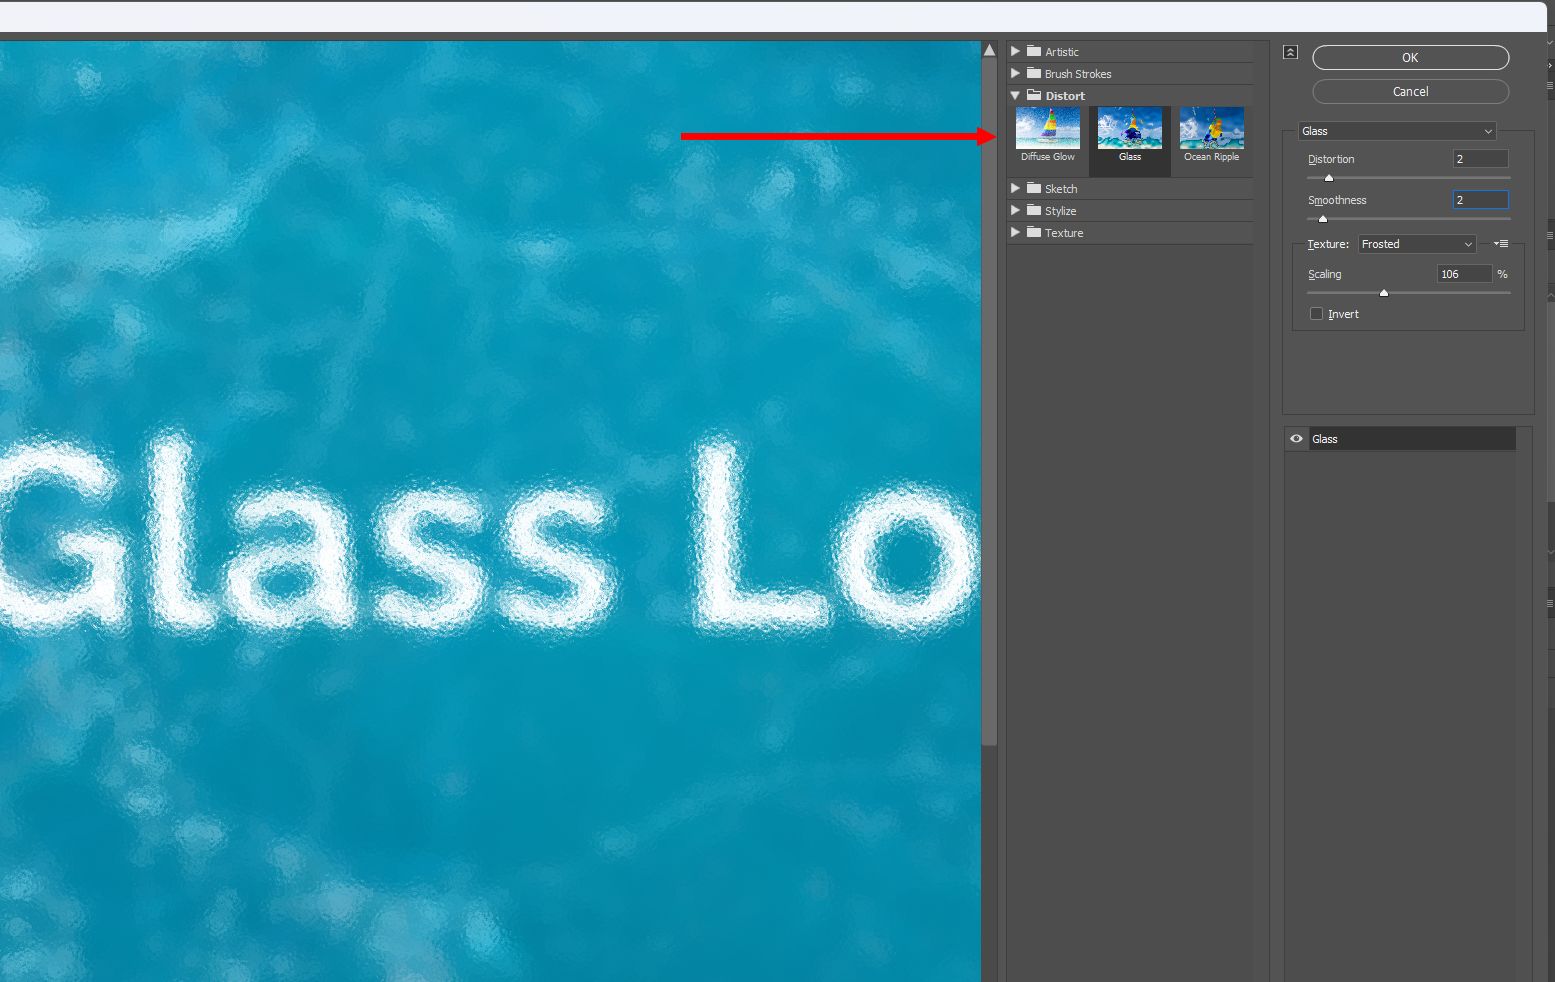
Step 5: Go back to the Filters menu, and then select Filters Gallery. Go to the Distort section and select the Glass filter. Adjust the strength of the effect to your preference and click OK.
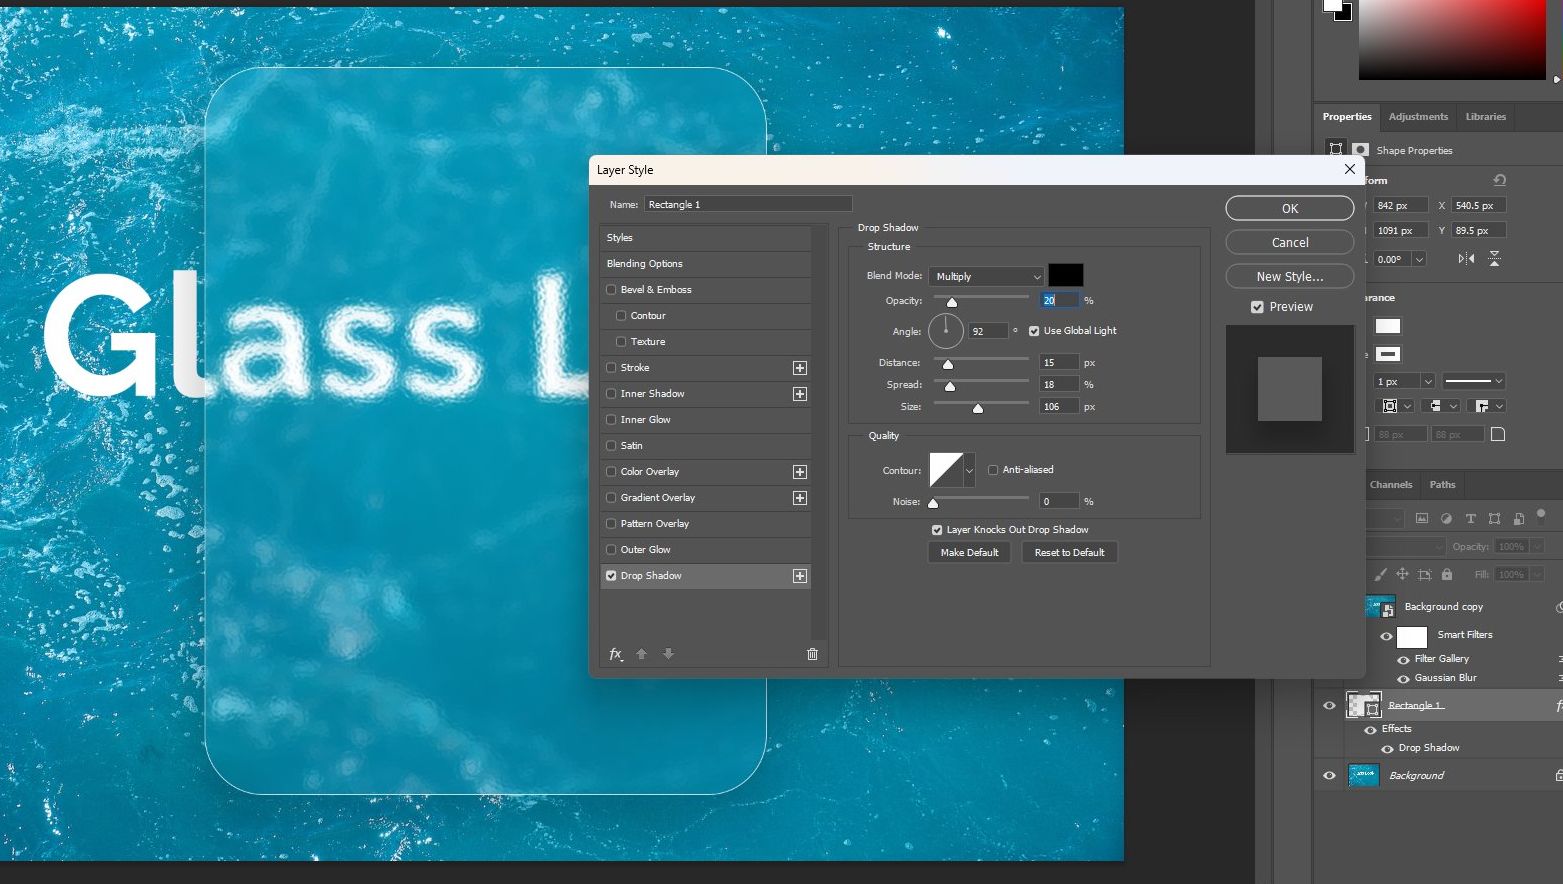
Step 6: Select the Rectangle layer from the Layers panel and Right-Click to select Blending Options. From the Layer Styles window, add a simple Drop Shadow to make the glass effect look more realistic.
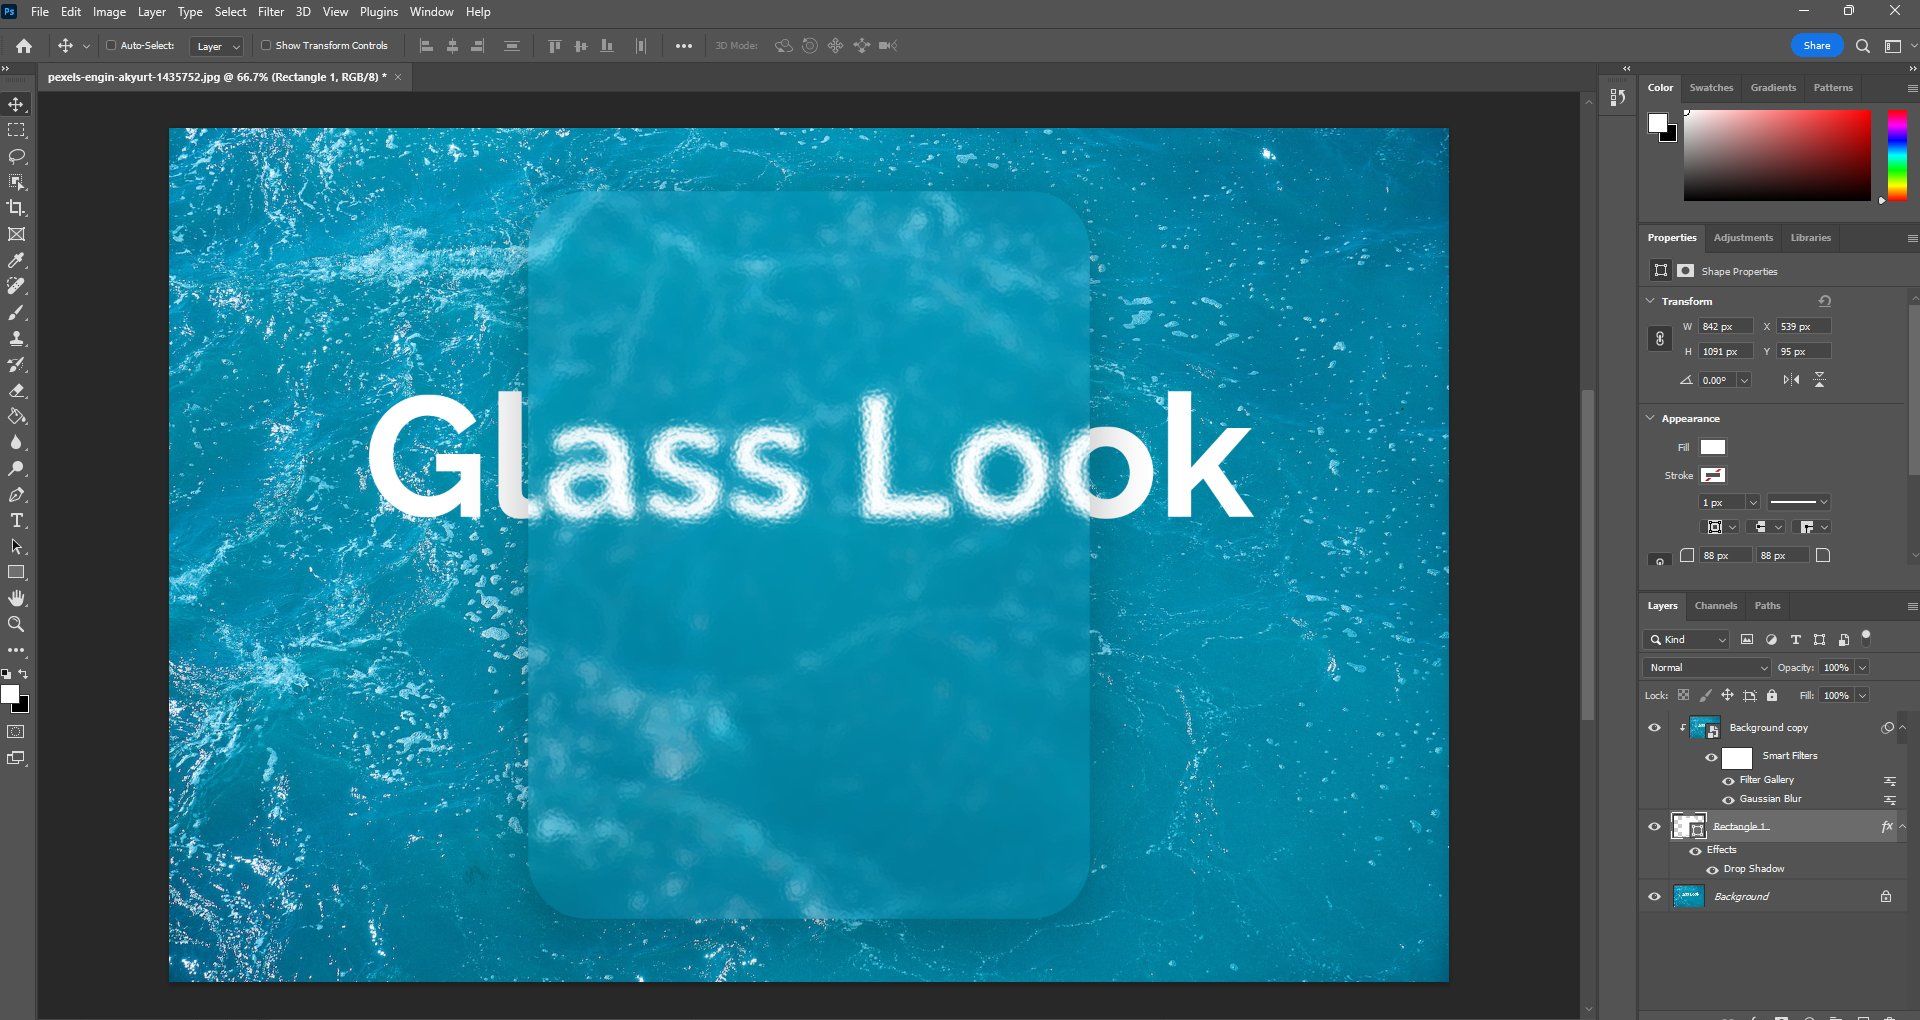
Here’s what the final effect looks like. You can even select the rectangle and move it around. This simple glass-look effect is inspired by this YouTube guide.
Method 3 (Hard): DIY Glass Text Effect
The glass effect can also be used to create cool typography designs. Let’s see how it’s done.
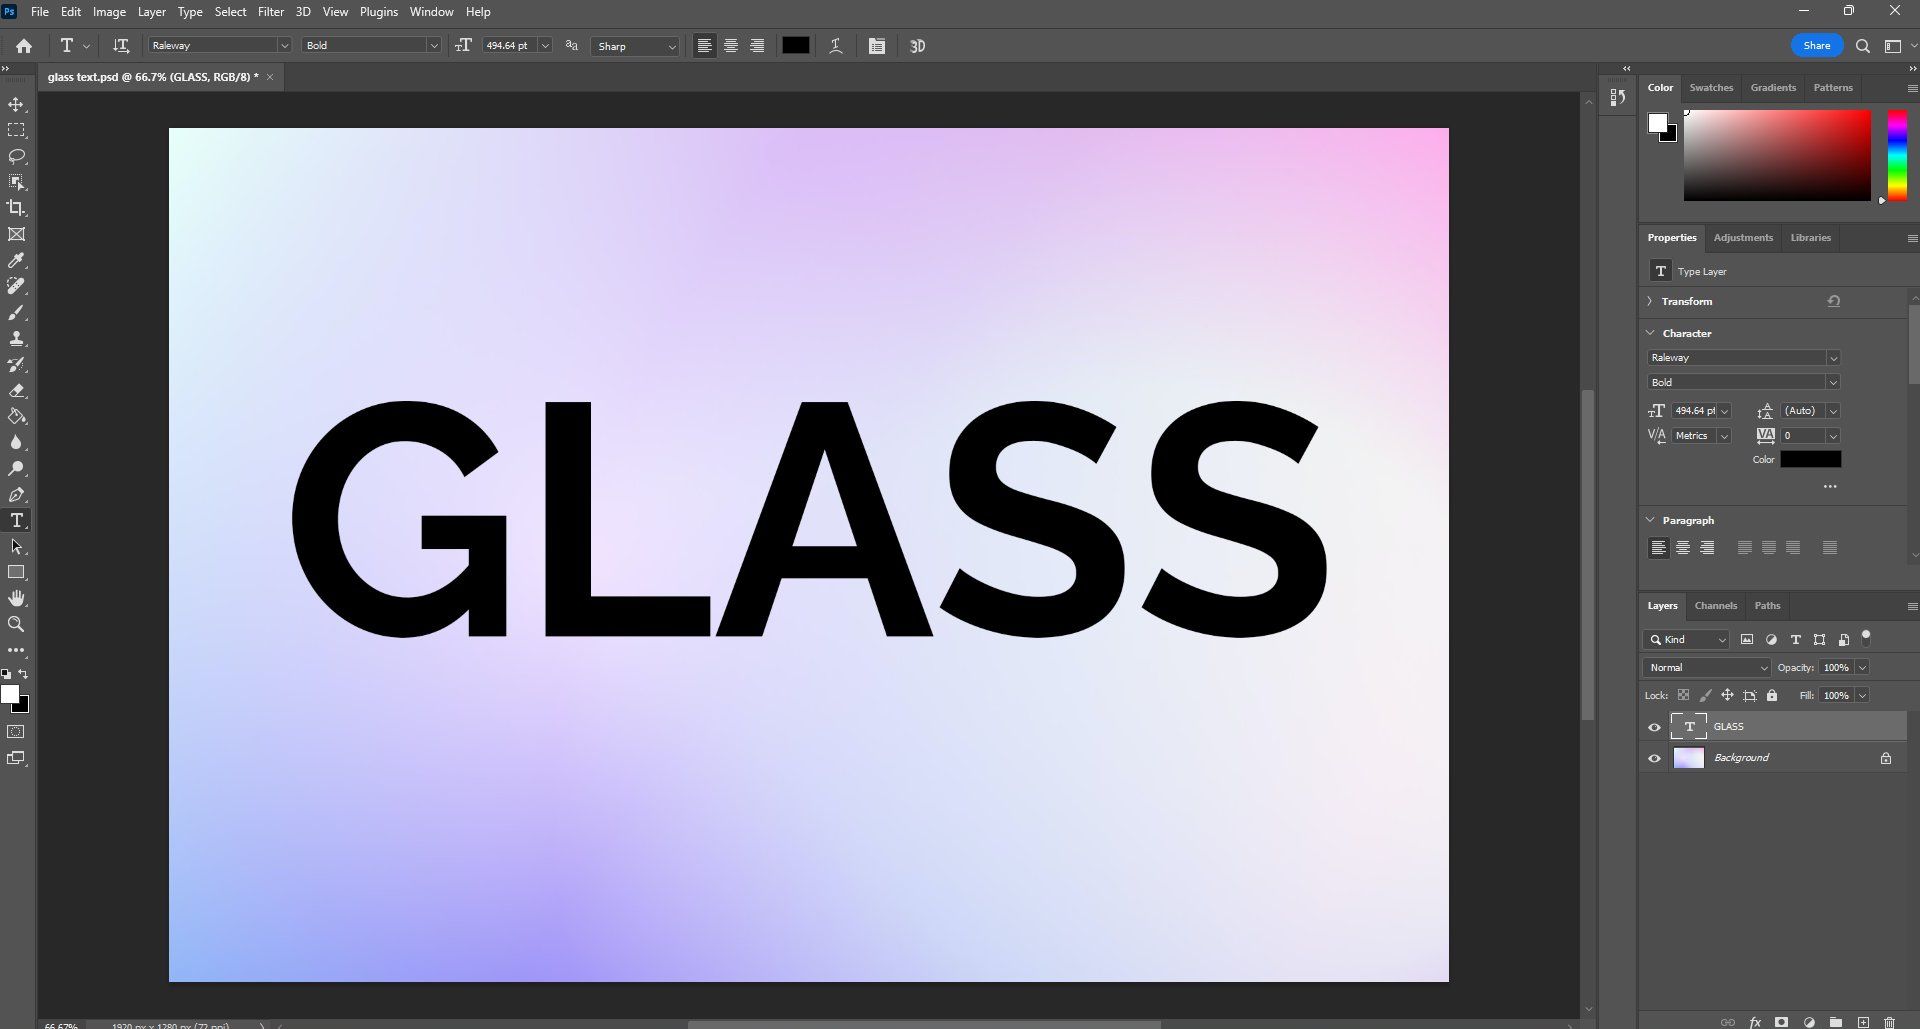
Step 1: Create a new file or open an image in Photoshop and add some text to it. Make sure the text has a dark black color.
Step 2: Go to the Layers panel and Right-Click on the text layer. Then select Blending Options and select Bevel and Emboss.
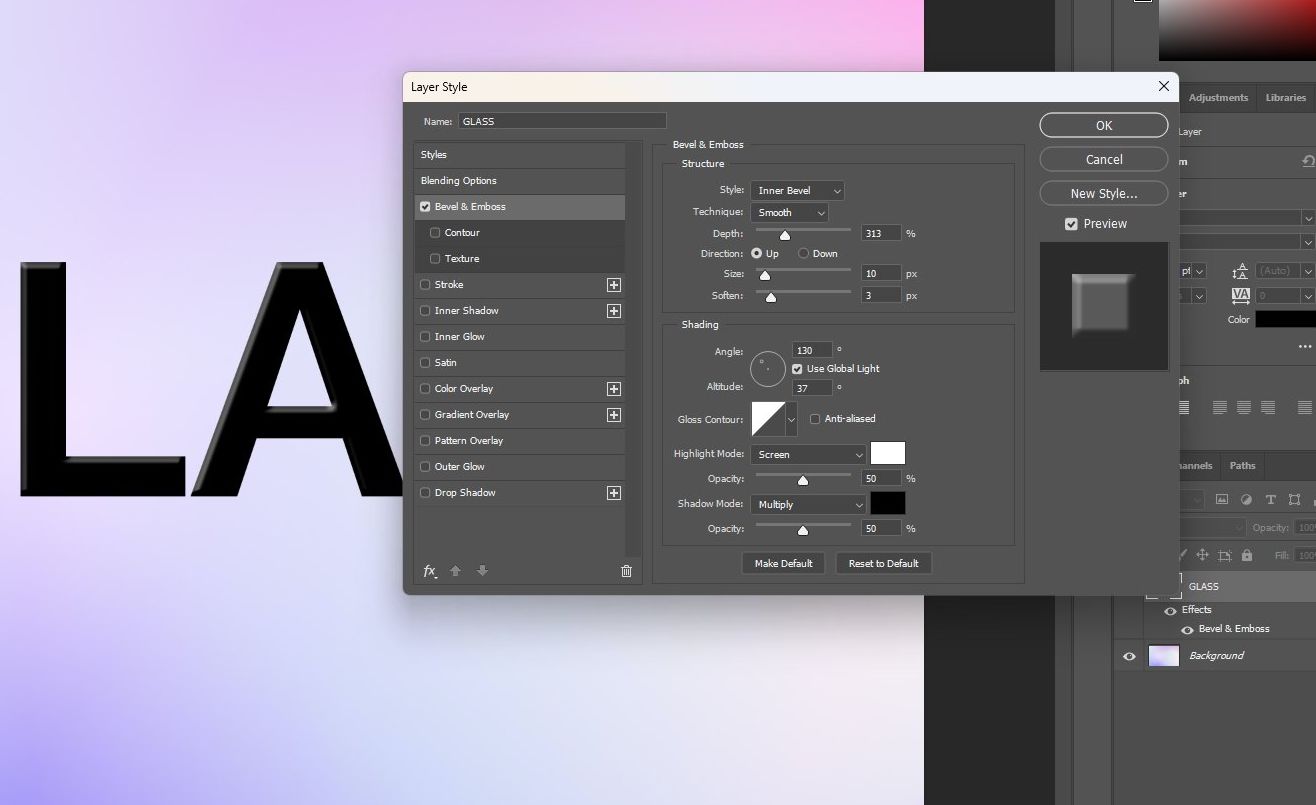
Step 3: Customize the Bevel and Emboss to make it an Inner Bevel. And then adjust the strength of the effect to your preference. Set the Angle to 130 and the Altitude to 37.
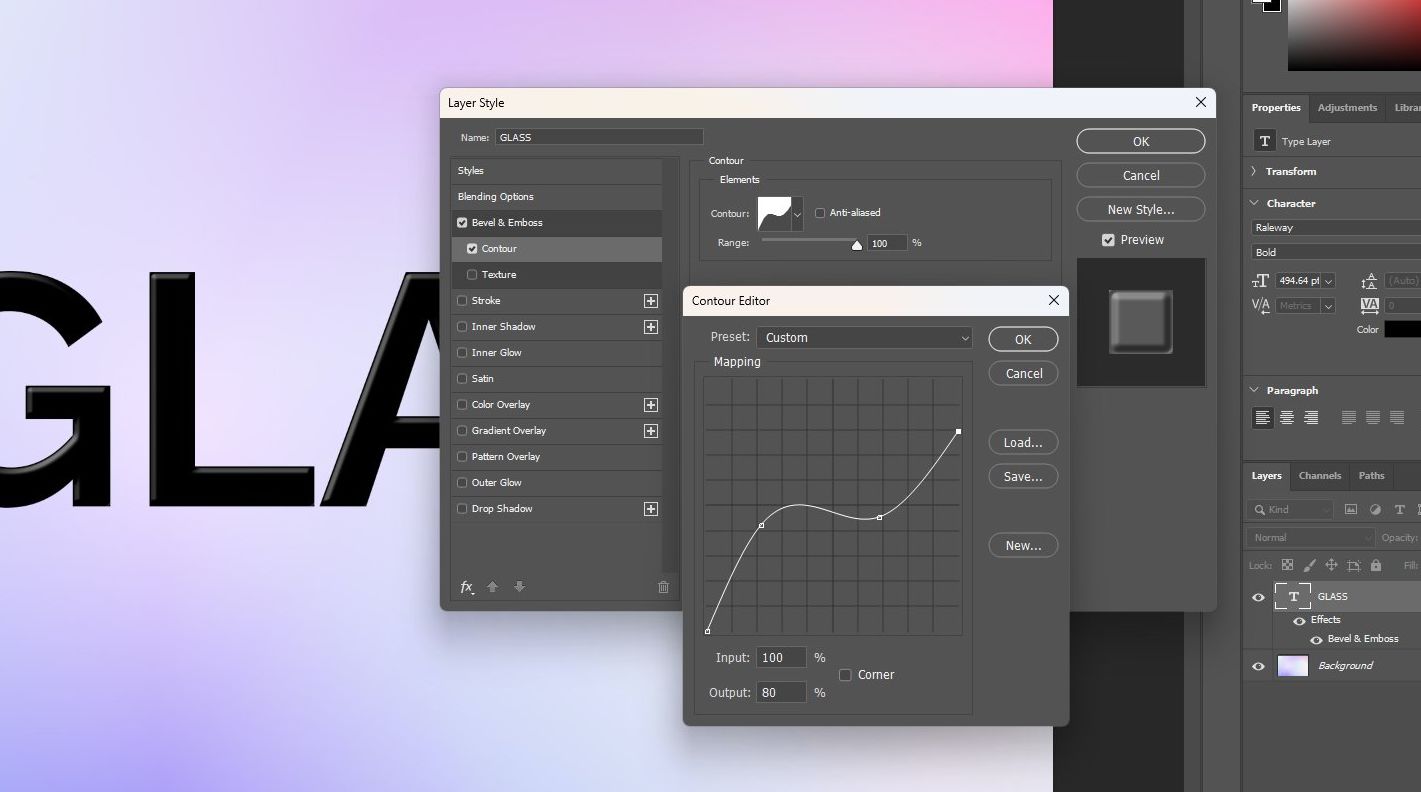
Step 4: Also add a Contour from the Layer Styles window. You can also customize this contour effect to your preference.
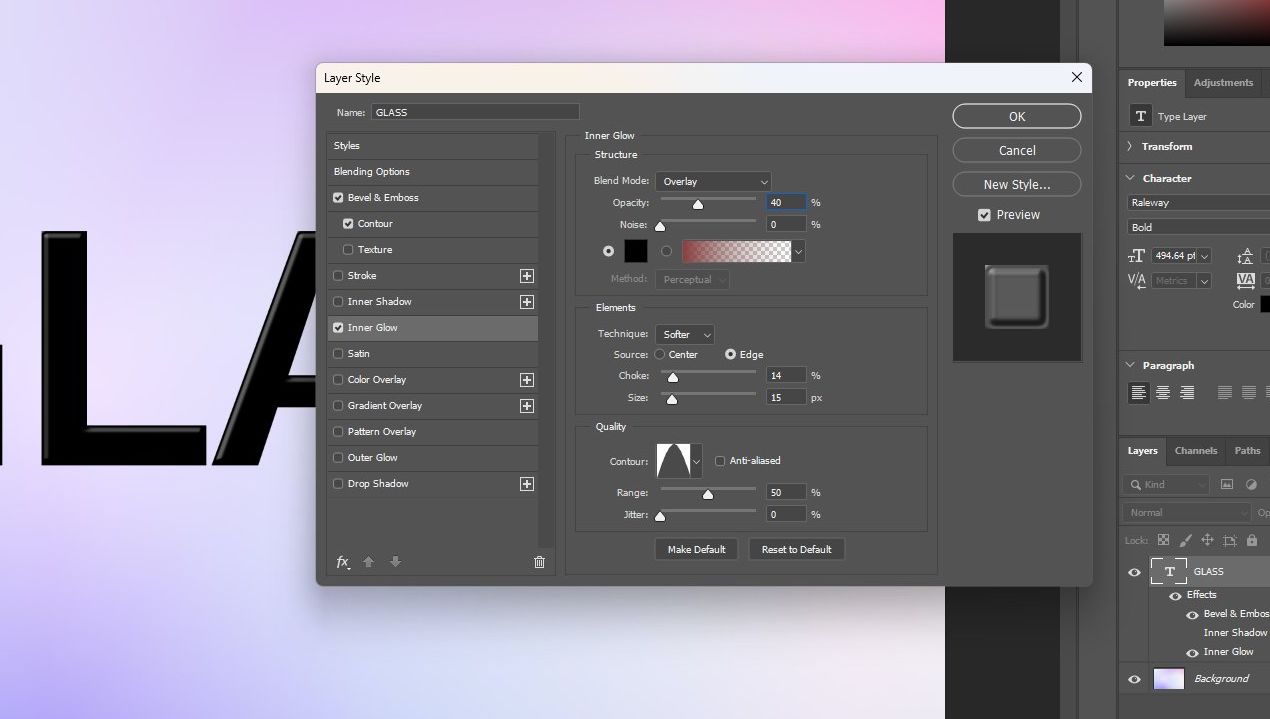
Step 5: Next, add an Inner Glow from the Layer Styles window. Set the Blending Mode to Overlay. Change the color to Black. And reduce the Opacity down to around 30 or 40. And adjust the Choke and Size as necessary. Change the Contour too. If you’re confused about which adjustments to choose, use the settings in the image above.
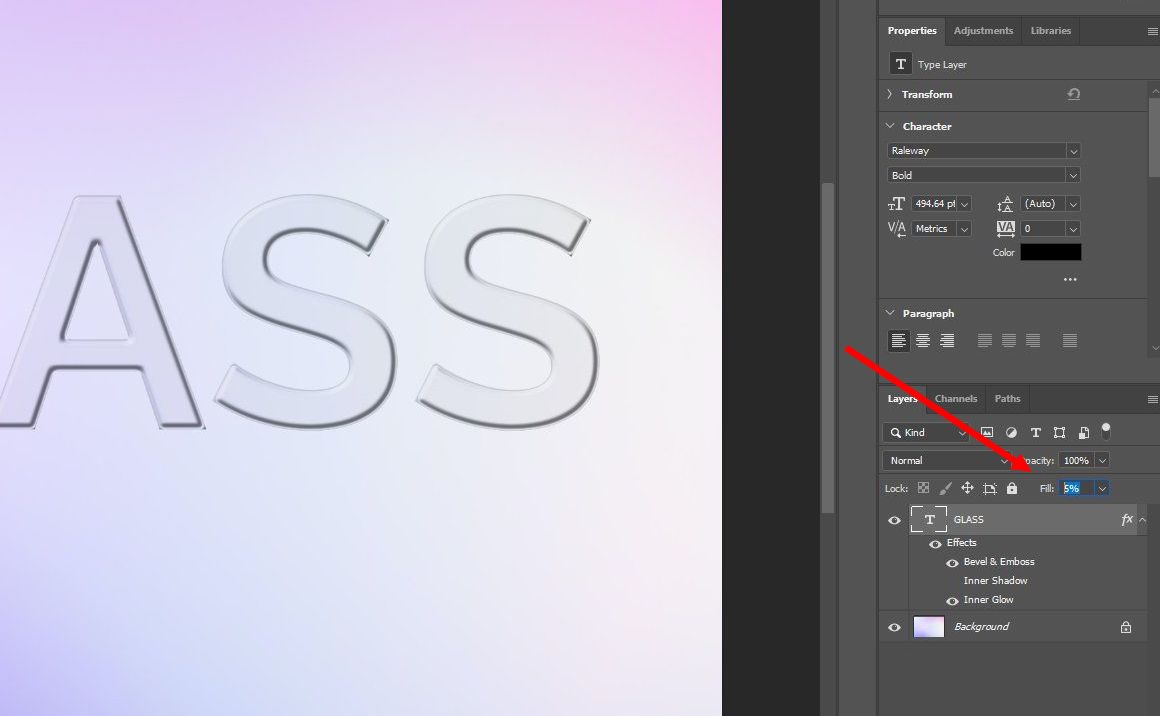
Step 6: Now, select the Text layer and bring the Fill opacity down to around 5. And you will see the glass effect appear in the text.
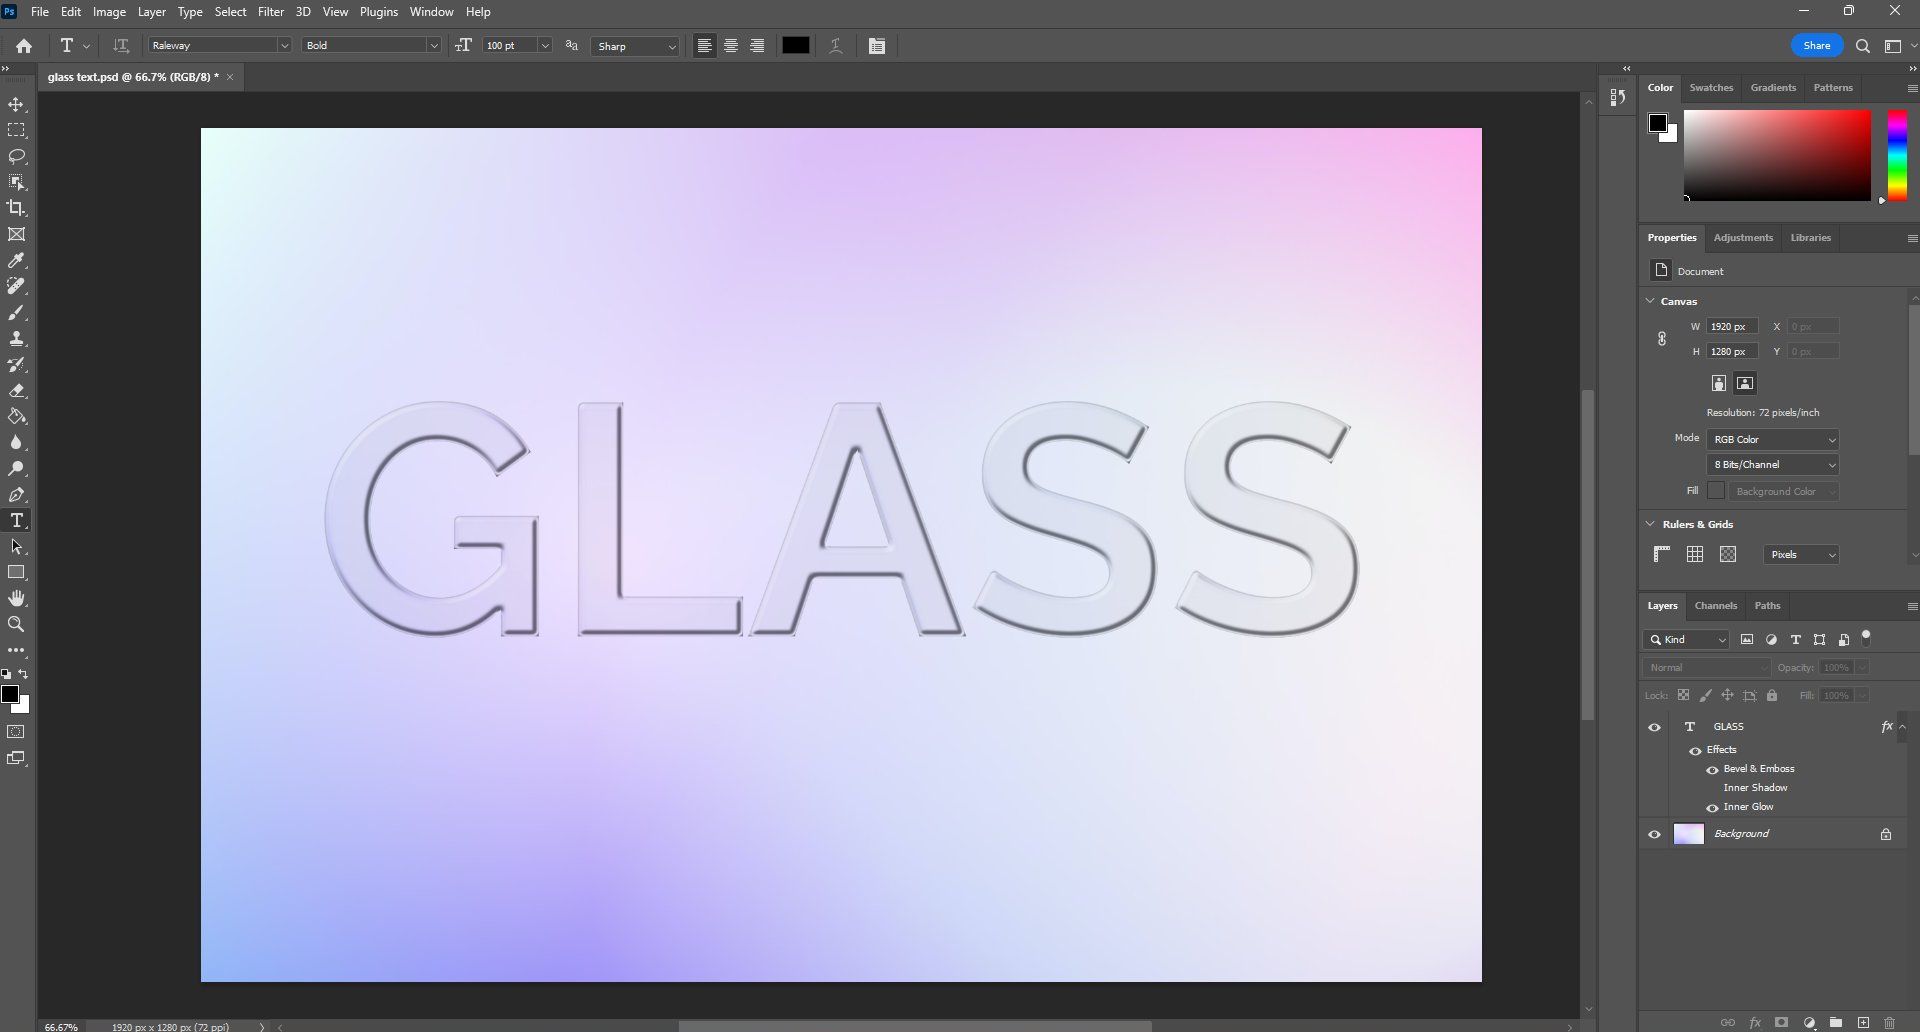
You can adjust the effect to customize it however you like. The effect is inspired by this YouTube guide. Follow it for more detailed instructions.
Photoshop Glass Effect PSD Templates
If you don’t want to go through all the hassle of creating glass effects from scratch, these pre-made templates will help you skip all the work.
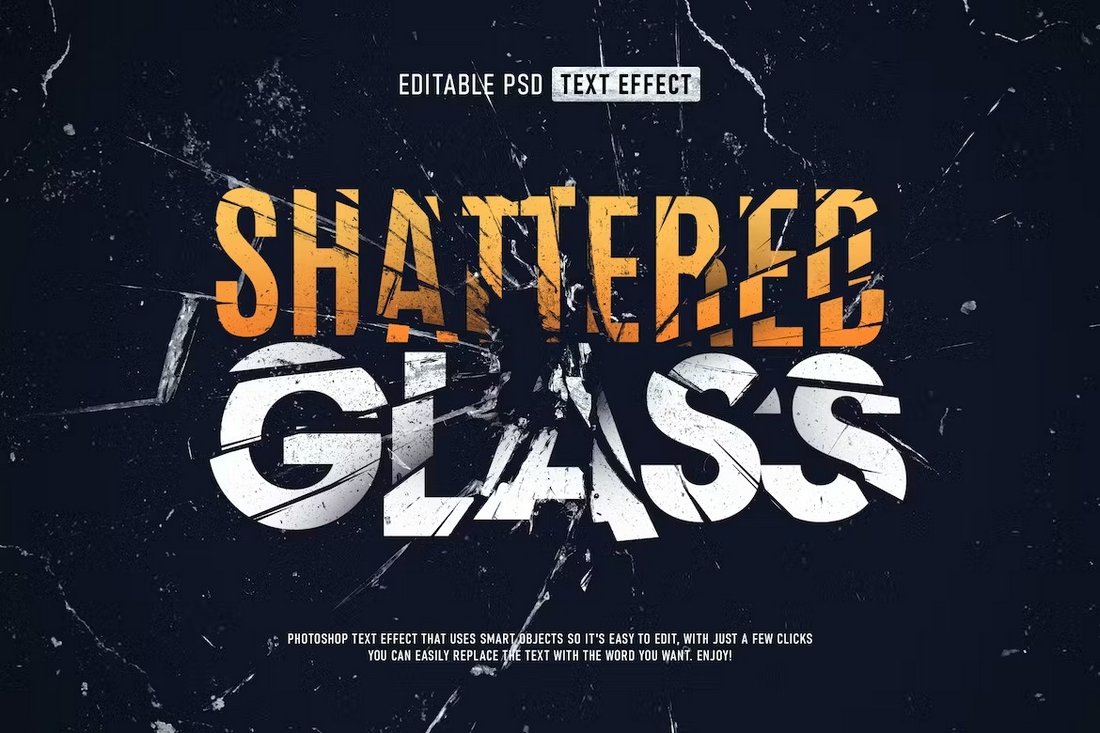
Shattered Glass Text Effect PSD
This Photoshop template allows you to apply the broken glass effect to your text layers. It has a very cool and realistic design that breaks the text into lots of pieces. And it will look amazing on movie posters and flyers.
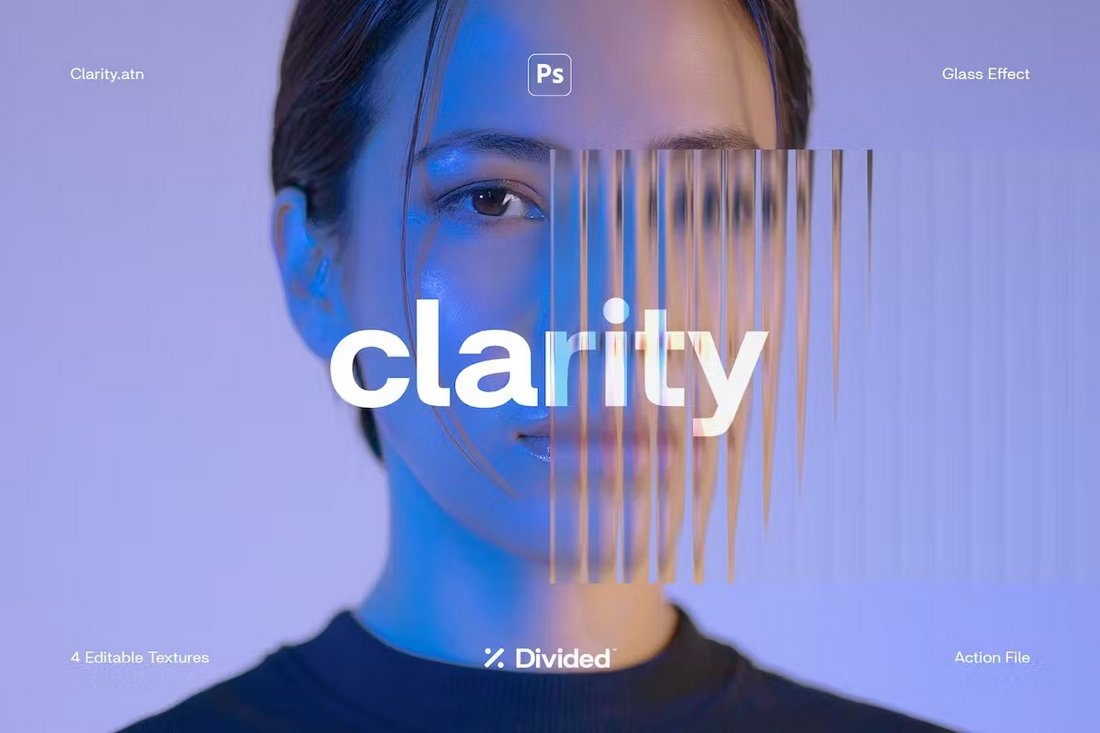
Clarity Glass Effect for Photoshop
This is a Photoshop action that comes with several different styles of glass effects. It includes a fluted glass effect in both vertical and horizontal designs. As well as a wavy glass effect.
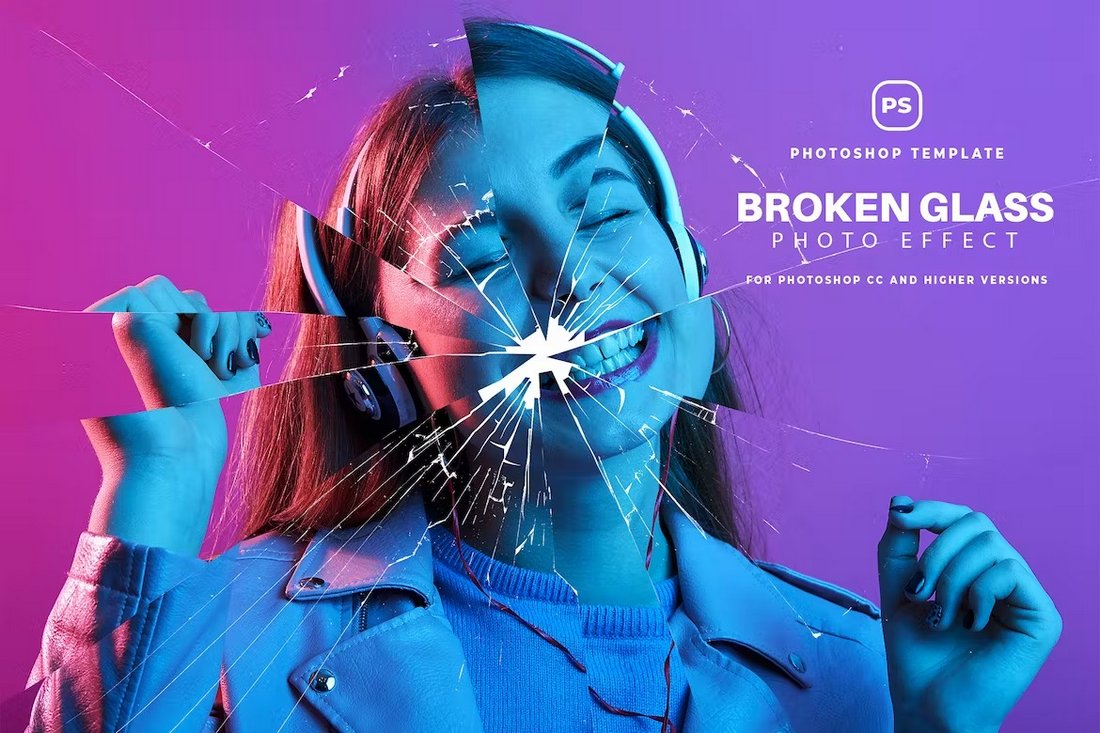
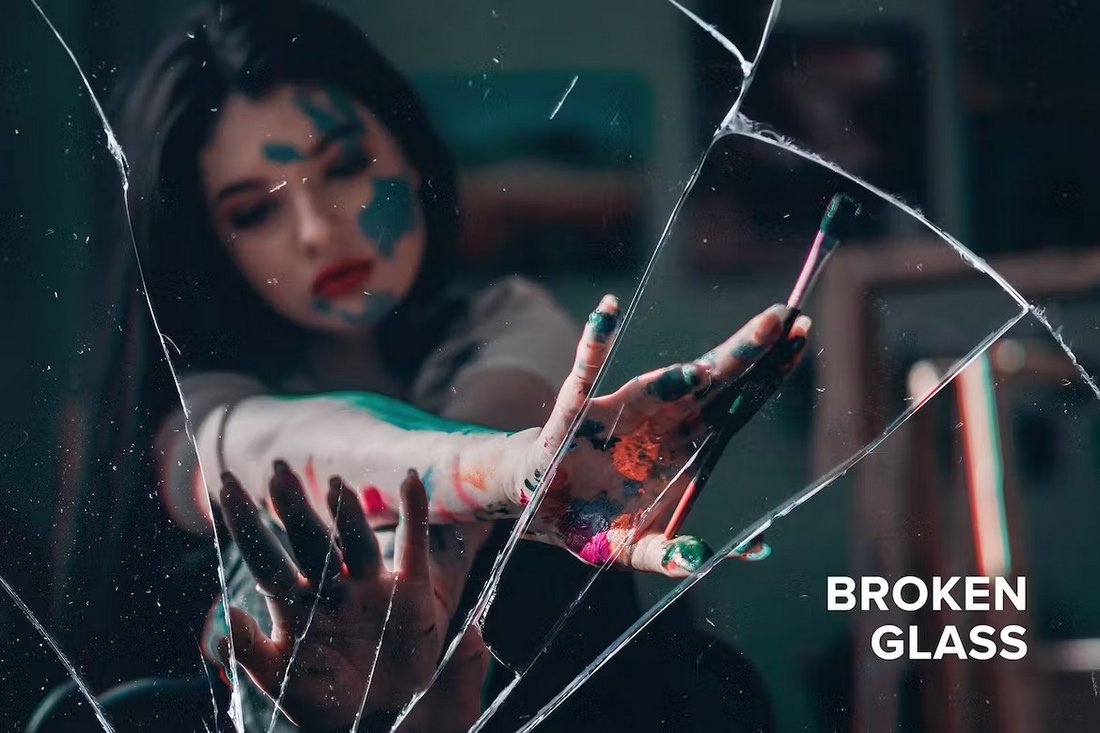
Broken Glass Effect for Photoshop
You’ll find one of the most realistic-looking glass effects in this Photoshop template. It has a cracked glass look that can be used to create amazing graphic designs and photo manipulations. It comes as a customizable PSD file.
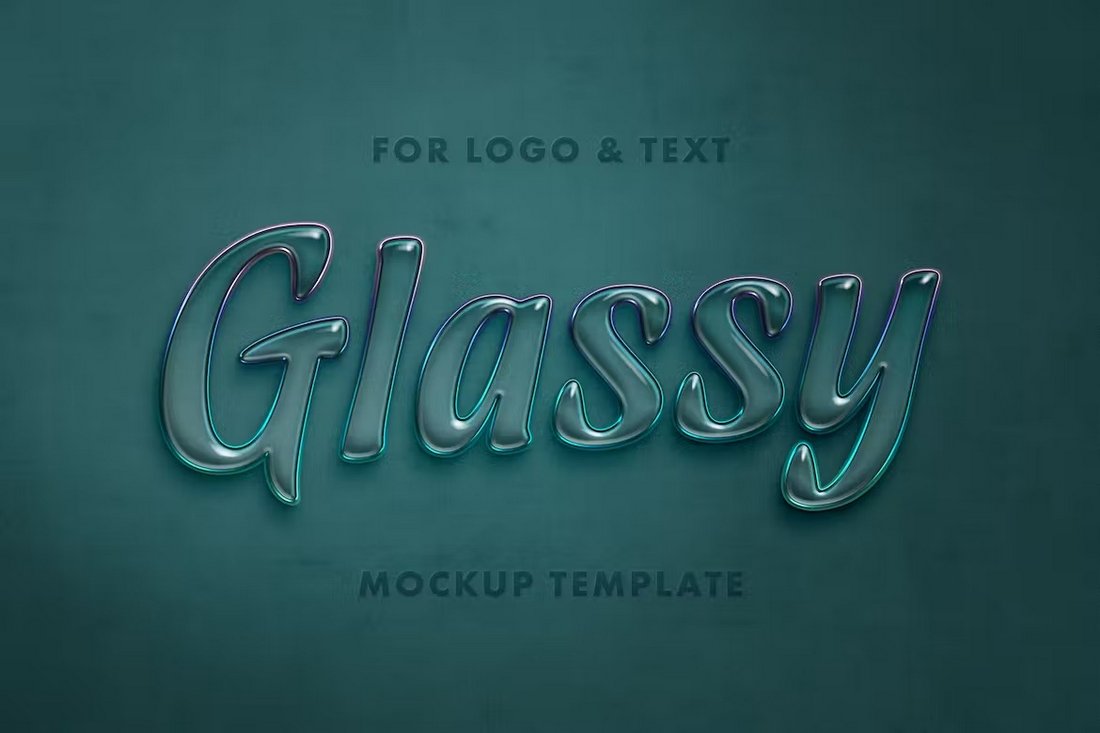
Creative Glass Text Effect PSD
This template features a great glass text effect with a creative design. You can use it to design cool titles and headings for all kinds of graphic designs, including posters, website headers, social media posts, and more.
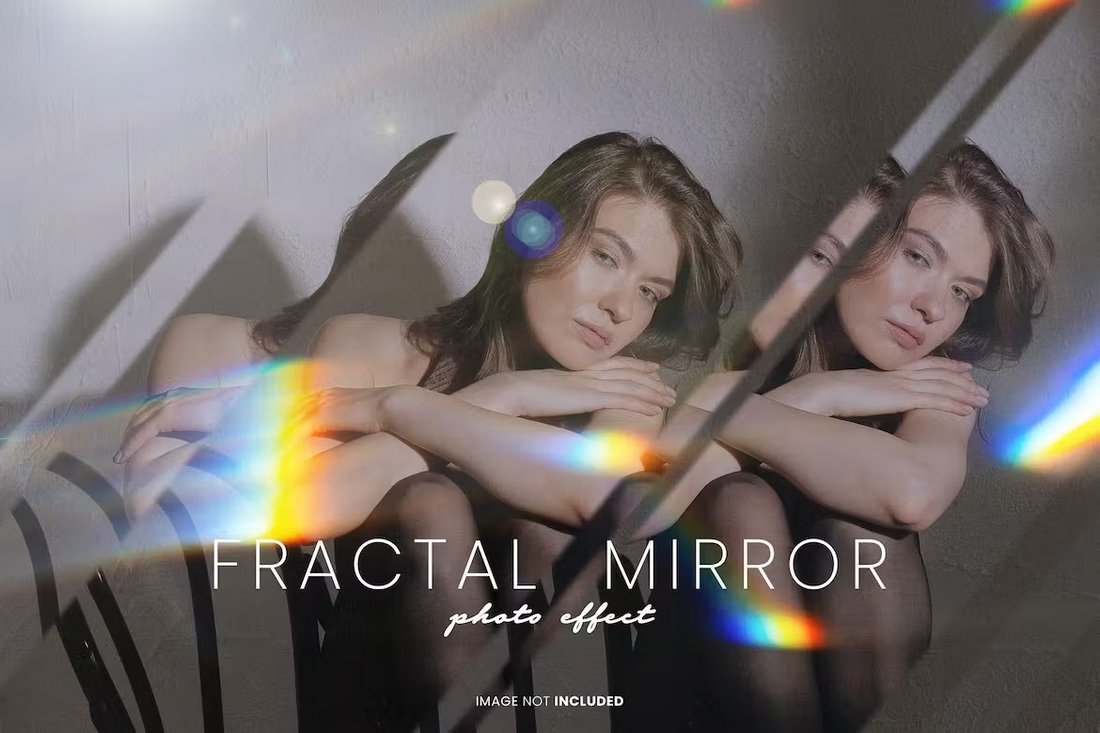
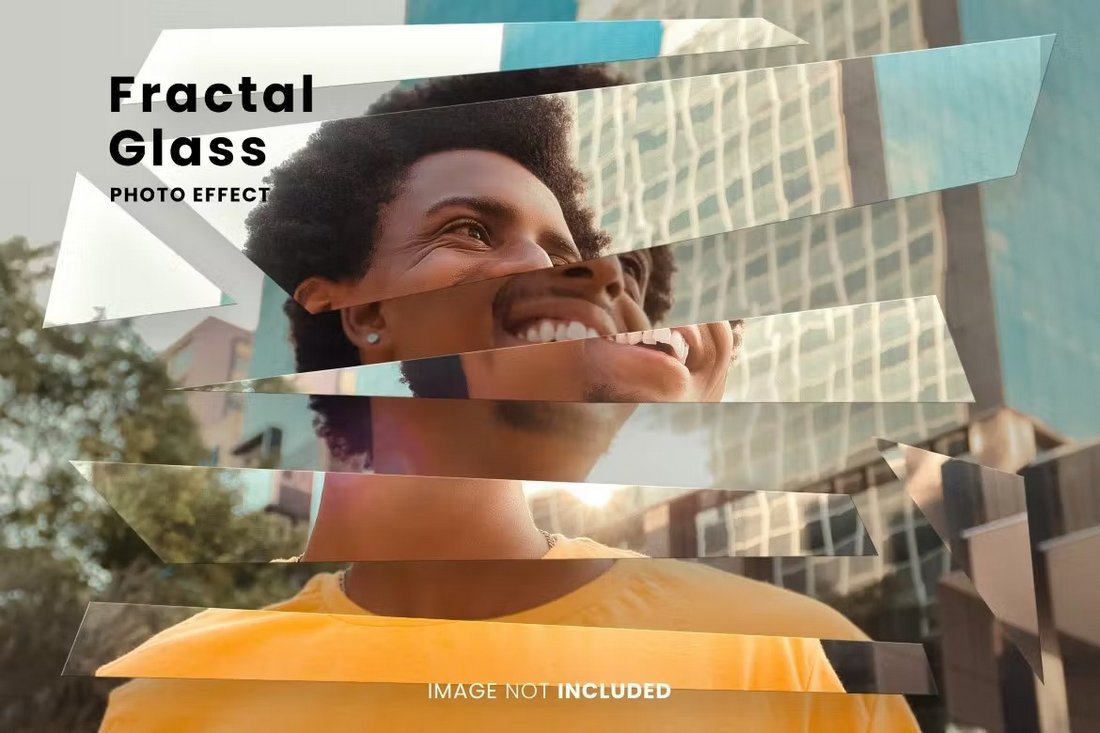
Fractal Mirror Glass Effect for Photoshop
Another popular style of glass effect is the fractal mirror effect. This template allows you to easily create that same glass mirror look for your photos. It comes as a PSD template file.
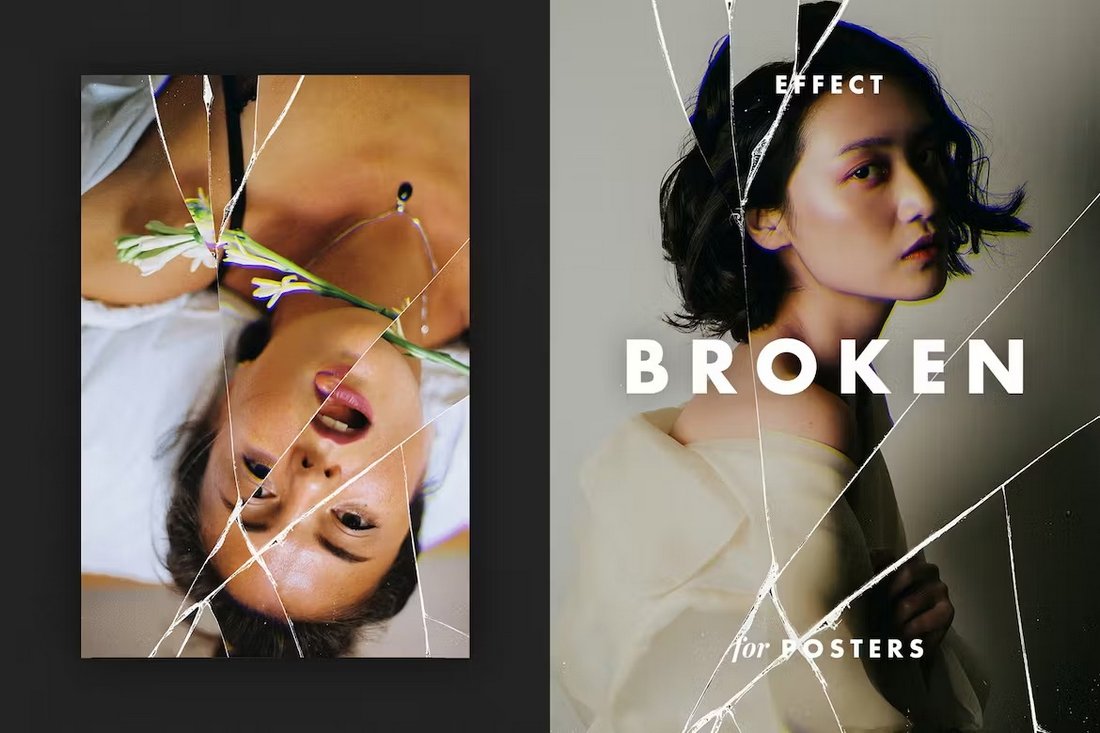
Smashed Glass Effect for Posters PSD
With this Photoshop template, you can create stylish broken glass effects for your poster designs. It’s especially suitable for movie posters but you can use it for other types of designs too.
Unique Photoshop Glass Photo Effect
Another creative fractal glass effect template for Photoshop. This template uses a unique design style that will fit in nicely with your creative photo manipulations. This template includes organized layers and smart objects too.
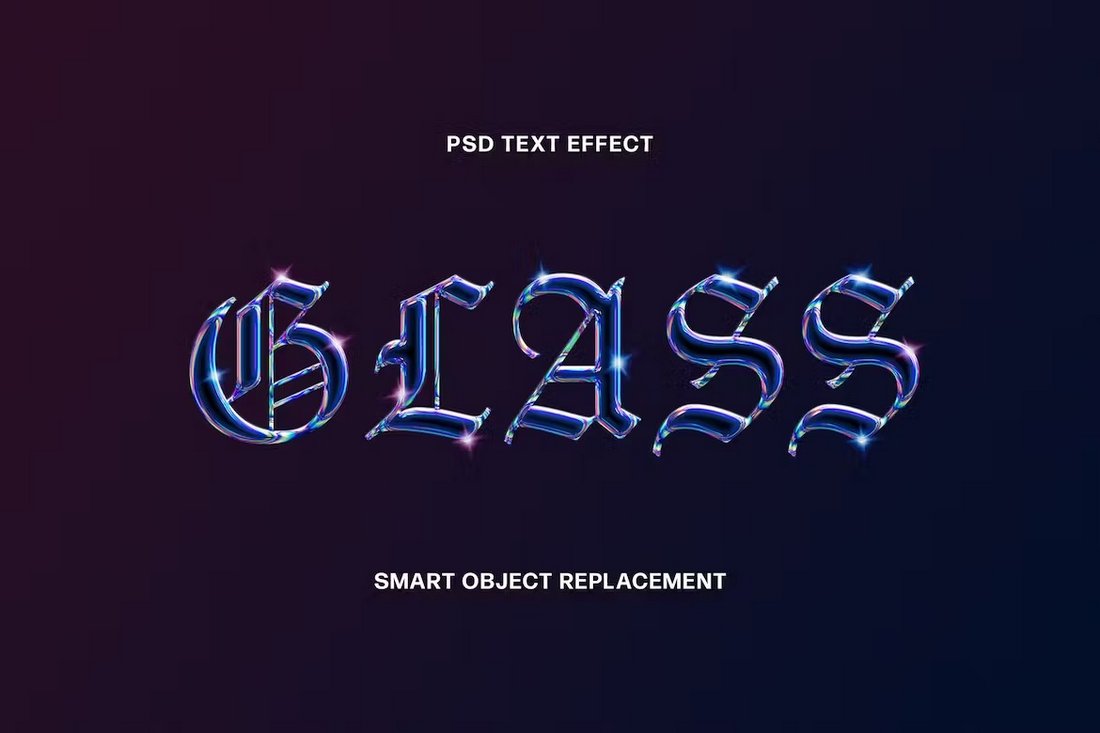
Holographic Glass Text Effect PSD
You can design incredible titles and headings for your designs using this PSD template. It features a glass text effect with a stylish holographic feel.
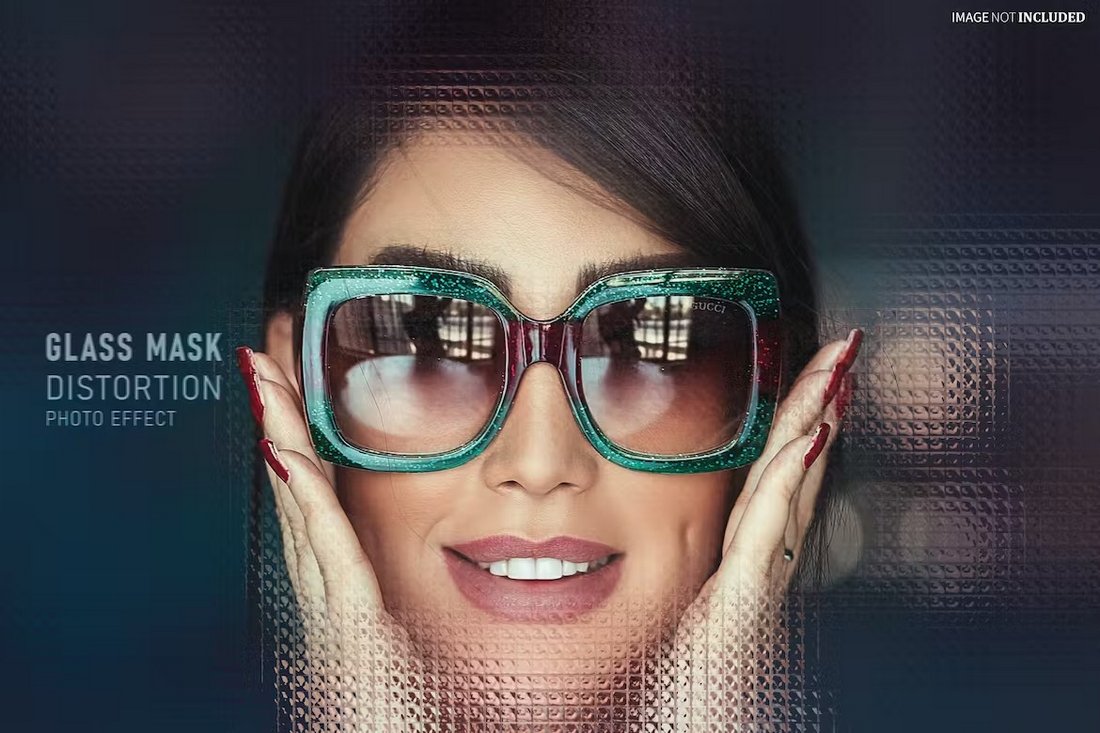
Distortion Glass Photo Effect for Photoshop
A simple yet useful glass effect template for Photoshop. You can use this template to easily apply a glass distortion effect to your photos and graphic designs.
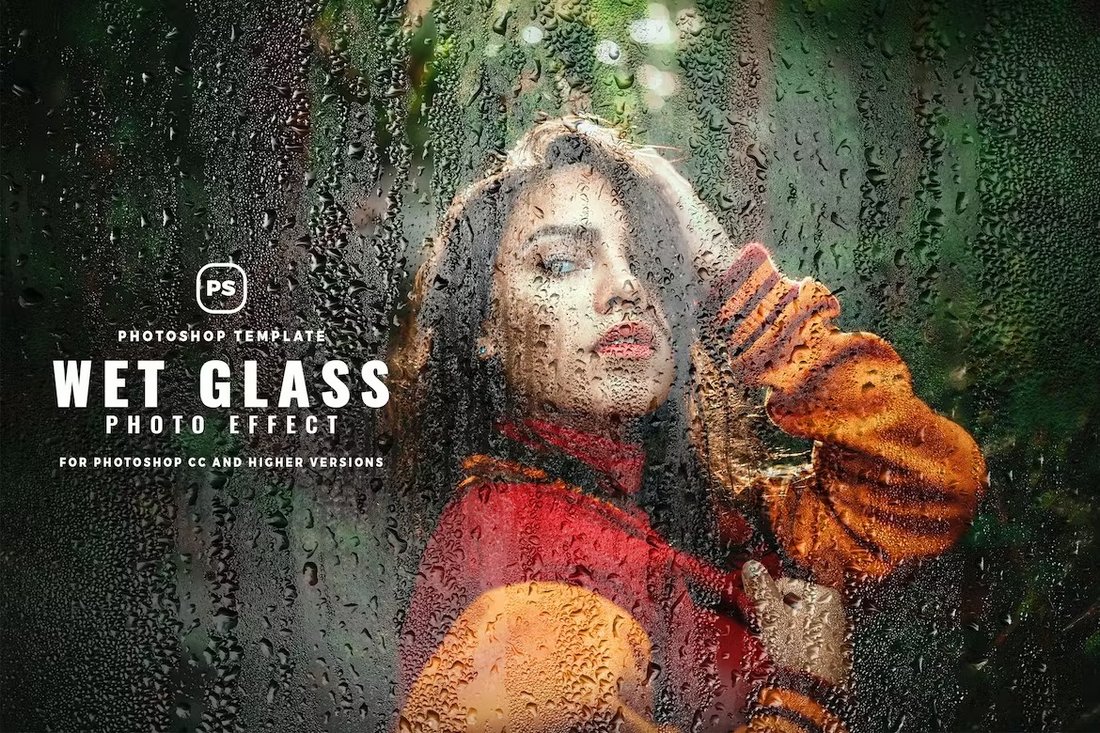
Wet Glass Effect for Photoshop
This Photoshop glass effect template features a cool raindrops on glass design. It’s great for making overlays for photos as well as for graphics. It also comes in a PSD file with smart objects.
You can find more templates in our Photoshop glass effect templates and text effects collection.
Conclusion
As you can see, there are many ways you can create a cool glass look effect in Photoshop. And it’s much easier to use templates to create effects.
If you enjoy experimenting with effects in Photoshop, then you’ll definitely find more cool ideas for designs in our best Photoshop actions collection. Be sure to check it out.
0 Commentaires