Adobe InDesign is a powerful tool used by graphic designers and publishers to create visually engaging layouts for print and digital media.
While working with text in InDesign, you might encounter a situation where the text overflows the frame in which it is placed, resulting in what is known as “overset text.”
In this article, we will explore the concept of overset text in InDesign, how to identify it, and how to resolve this common issue to ensure that your document displays all the text as intended.
Understanding Overset Text
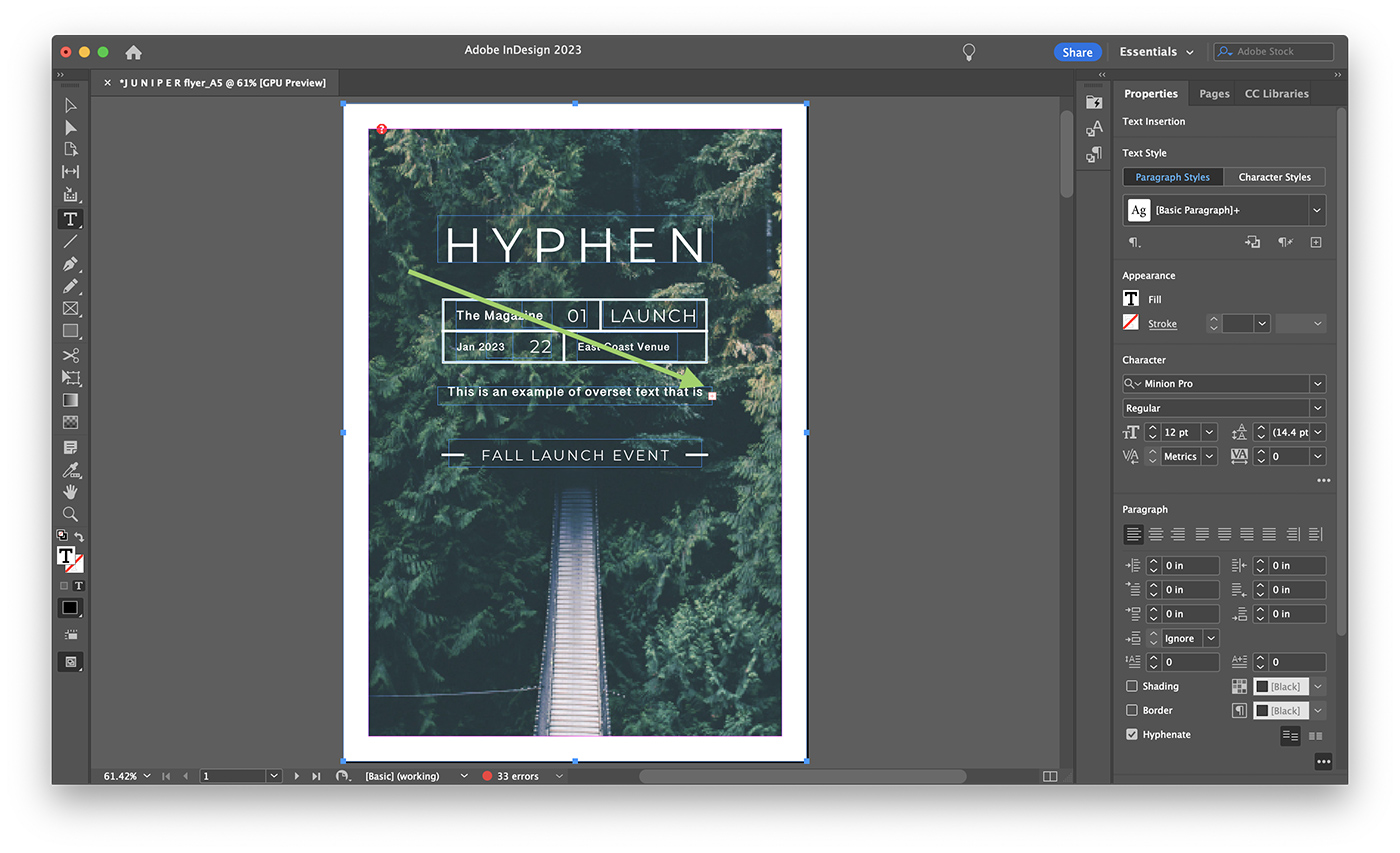
Overset text occurs when there is more text than can fit within the boundaries of a text frame. In InDesign, text frames define the area in which text is displayed.
When the text exceeds the capacity of its frame, it becomes hidden and inaccessible, potentially leading to unintended omissions in the final output.
In the InDesign workspace, you can identify overset text by a red plus sign (+) that appears in the lower-right corner of the text frame. This symbol indicates that the frame is unable to contain all the text and that some of it is hidden.

Resolving Overset Text
There are several ways to address the issue of overset text in InDesign, depending on the specific needs and constraints of your project. Here are some methods you can use to resolve overset text:
- Resize the text frame: Click on the text frame and drag the handles to resize it, making it larger to accommodate the overset text. Be sure to consider the layout and design of your document when resizing text frames.
- Link text frames: Create a new text frame or select an existing one, then click on the red plus sign in the original text frame and click within the new frame. This will create a link between the frames, allowing the text to flow from one frame to another.
- Adjust text formatting: Alter the text size, font, leading, or other formatting options to reduce the amount of space the text occupies within the frame.
- Recompose the text: Edit the text to make it more concise, or consider rephrasing or restructuring the content to fit within the available space.
Preventing Overset Text
To avoid overset text in your InDesign projects, consider the following best practices:
- Plan your layout: Before placing text, plan the layout of your document, taking into account the dimensions of the text frames and the amount of text you need to include.
- Use Auto-Size feature: InDesign has an Auto-Size feature that automatically resizes the text frame to fit the text within it. To enable this feature, select a text frame, open the Text Frame Options dialog box (Object > Text Frame Options or Ctrl/Cmd + B), and choose one of the Auto-Size options from the dropdown menu.
- Utilize Smart Text Reflow: Enable the Smart Text Reflow feature in InDesign (Preferences > Type) to automatically add or remove pages as you add or delete text, ensuring that your text always fits within the available space.
Conclusion
Overset text is a common issue that designers may face while working with InDesign, but with the right techniques and practices, it can be easily resolved and prevented. By understanding the concept of overset text and how to identify it, you can ensure that your documents display all the text as intended without any unexpected omissions.
Furthermore, by implementing the various methods for resolving overset text, such as resizing text frames, linking frames, adjusting text formatting, and recomposing the text, you can maintain a clean and professional appearance in your projects.
Finally, by adopting best practices like planning your layout, using the Auto-Size feature, and enabling Smart Text Reflow, you can minimize the likelihood of encountering overset text issues in your InDesign projects.
In summary, being aware of overset text and knowing how to tackle it effectively is an essential skill for anyone working with Adobe InDesign. By mastering these techniques, you can create visually appealing and well-organized documents that effectively communicate your message to your audience.
0 Commentaires