Google Docs is a powerful tool for creating and editing documents online, but sometimes the default font selection may not meet all your creative or professional needs.
If you’re looking to personalize your documents or need a specific style for a project, knowing how to add fonts to Google Docs can greatly expand your design options.
This article will guide you through the process of adding new fonts using two simple methods, including how to add custom fonts to Google Docs. Without further ado, let’s get started.
How to Add Custom Fonts to Google Docs
The easiest way to add a custom font to Google Docs is to find one from the Google Fonts library.
Step 1: Open Font Selector
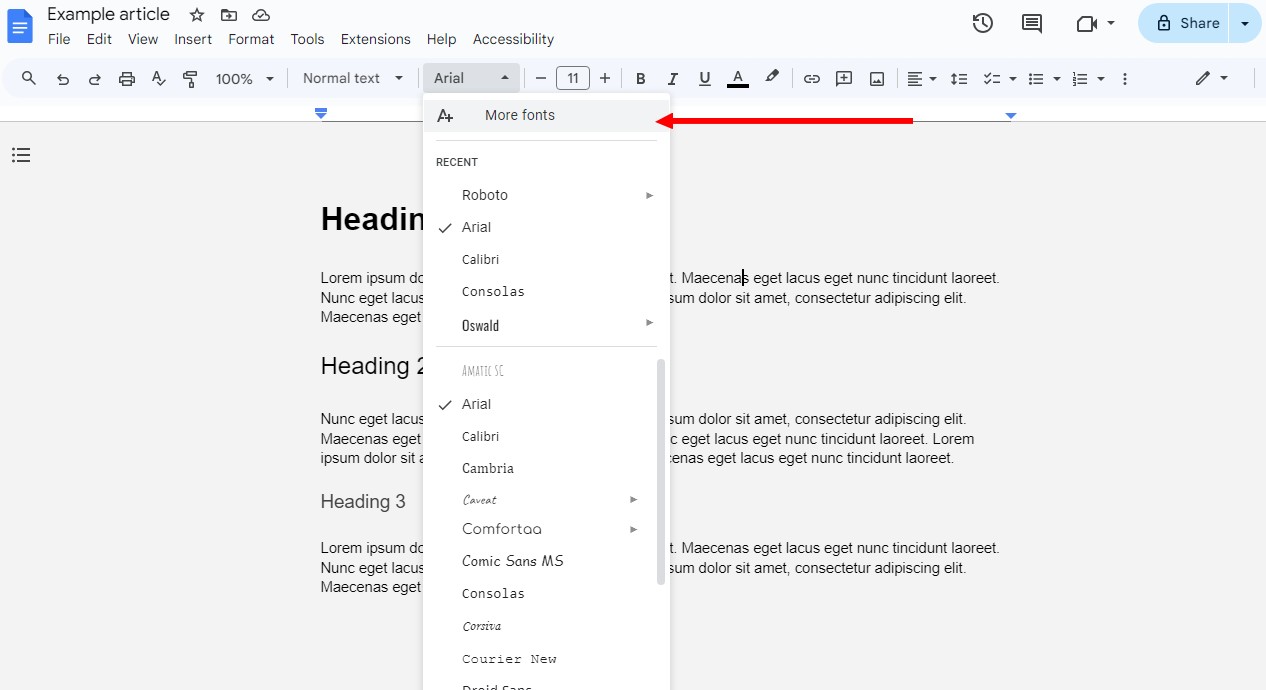
To start, open a document in Google Docs. Click on the font menu drop-down at the top of the page, which typically displays the current font used in your document (e.g., ‘Arial’).
Step 2: Browse Fonts
In the font menu, click on “More fonts” at the top of the list to open the ‘Fonts’ dialog box. Here, you will find a wide range of fonts available in Google Docs.
If you’re not sure what type of font you want to use, you can browse the fonts in the Google Fonts library, note the name, and search for it in the “More Fonts” window.
Step 3: Add Fonts from the List
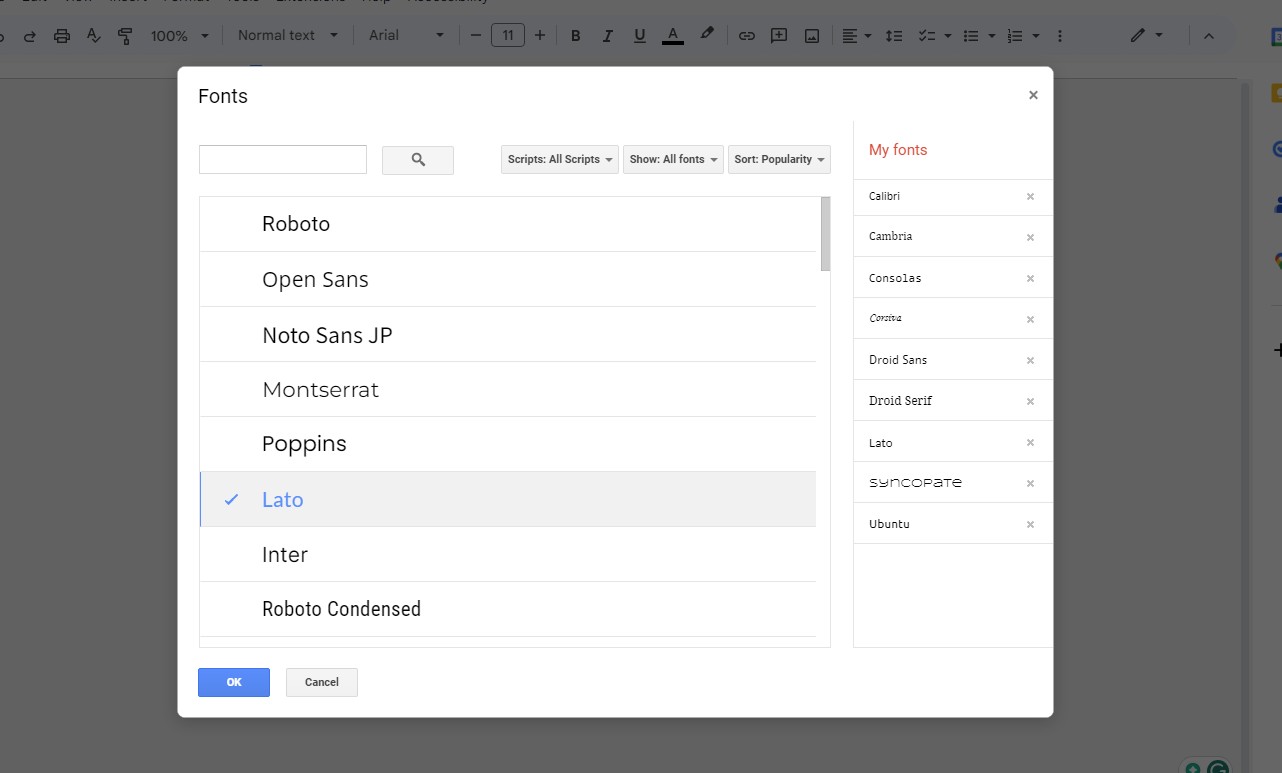
You can search for a specific font by typing its name in the search box or browse through the list. Click on the fonts you wish to add; they will move to the ‘Selected fonts’ list on the right.
Once you’re done, click ‘OK’ to add these fonts to your font menu.
How to Import Custom Fonts Using Add-ons
Google Docs does not directly support the import of external fonts not provided in the ‘More fonts’ list. However, there’s a workaround to use custom fonts:
Step 1: Get Add-ons
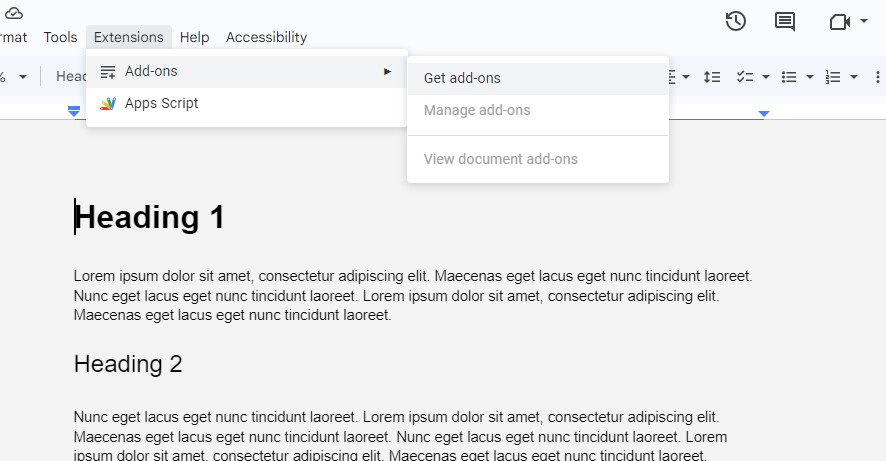
Click on ‘Add-ons’ in the top menu of Google Docs, then select ‘Get add-ons.’
Step 2: Install an Add-on
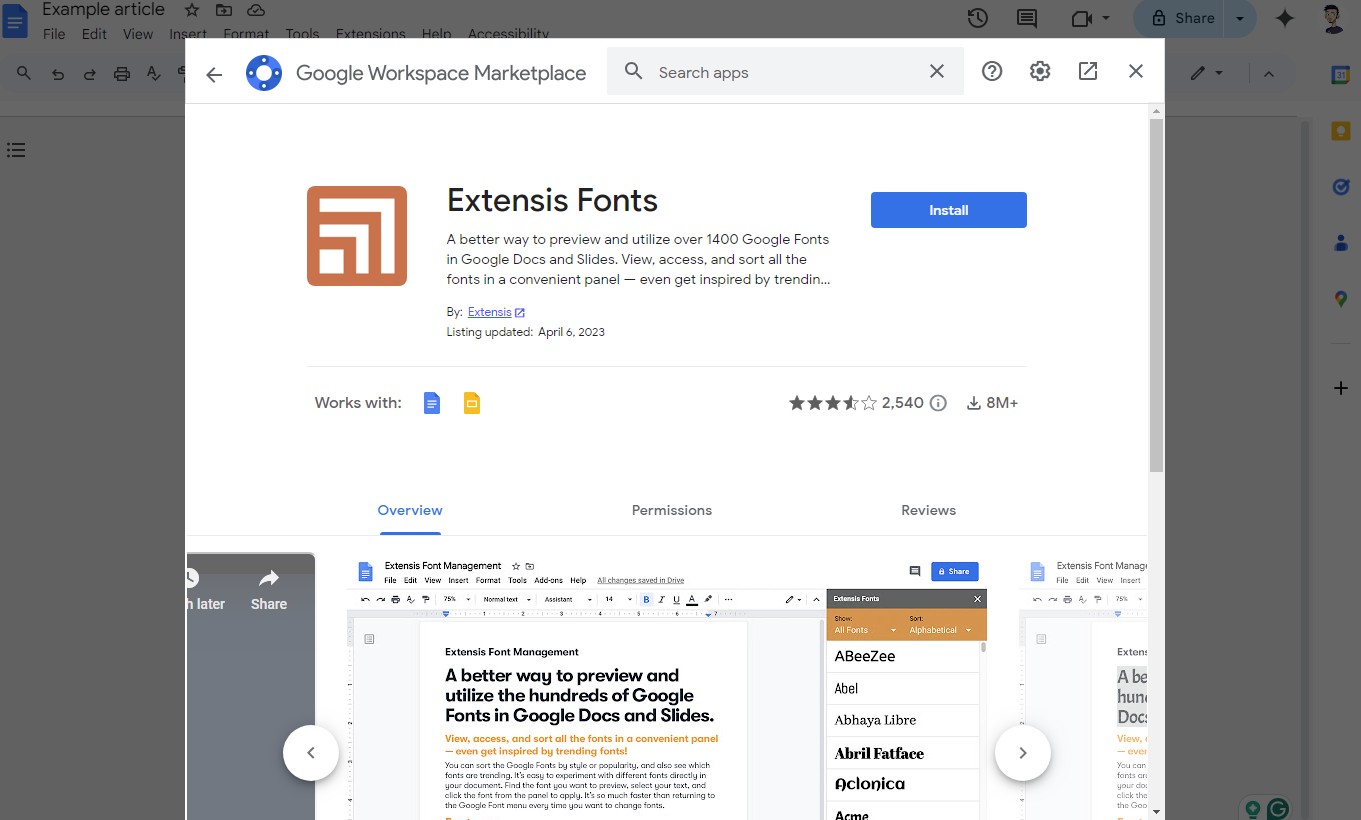
Search for an add-on that allows you to use custom fonts, such as ‘Extensis Fonts,’ and install it.
Step 3: Access New Fonts
Once installed, you can access new fonts through the add-on menu, typically found in the add-ons dropdown.
Best Practices for Using Fonts in Google Docs
Follow these tips to achieve the best results with custom fonts in Google Docs.
1. Check for Compatibility
When selecting fonts, ensure they are compatible across all devices and platforms. This is crucial for maintaining the visual integrity of your document when it is opened on different operating systems or within various applications. Stick to universally supported fonts when consistency is critical.
2. Legibility
Always prioritize legibility when choosing fonts, especially for extensive text blocks or official documentation. Simple, clear fonts like Arial, Calibri, or Times New Roman are typically recommended for body text. Avoid overly decorative fonts for large sections of text as they can cause strain and hinder readability.
3. Brand Consistency
For business documents or any materials that represent a brand, it’s important to use fonts that align with the brand’s visual identity. Consistent use of fonts helps strengthen brand recognition and ensures that all communications are aligned with the brand’s style guidelines.
4. Consider Your Audience
Consider the demographics of your audience. For example, larger fonts might be more appropriate for senior readers, while younger audiences may appreciate more modern and dynamic typography. Understanding who will be reading your document can guide your font choice effectively.
5. Visual Hierarchy
Use different fonts and styles to establish a clear visual hierarchy. Titles and headings should be distinguishable from body text, which can be achieved by varying font sizes, weights, and styles. This organizational practice helps readers navigate your document more efficiently.
6. Avoid Overloading with Multiple Fonts
Limit the number of different fonts used in a single document. A good rule of thumb is to use a maximum of three different fonts to keep the design clean and organized. Too many fonts can make your document look cluttered and confuse the reader.
7. Test on Different Screens
Since documents can be accessed on various devices, from desktop computers to smartphones, test how your fonts look on different screens. Some fonts may appear fine on a large monitor but become illegible on a smaller device.
8. Use Web-Safe Fonts for Critical Text
If your document is likely to be shared online or viewed in Google Docs without downloading, opt for web-safe fonts for critical information. These fonts are more likely to render consistently across different browsers and devices.
9. Incorporate Font Pairing
Font pairing can be highly effective in enhancing the aesthetic appeal and readability of your documents. Choose complementary fonts—one for headings and another for body text—to create a balanced and attractive layout.
10. Review and Revise Periodically
Font trends and document standards can evolve, so periodically review and revise your font choices to keep your documents fresh and relevant. Regularly updating your fonts can also rejuvenate your standard document templates.
Conclusion
While Google Docs offers a substantial range of fonts, adding custom fonts can bring a new level of personalization and professionalism to your documents.
By utilizing Google Fonts and various add-ons, you can significantly expand your choices and enhance your documents. But be mindful of the fonts you use and make sure to acquire the proper font licenses for your projects.


0 Commentaires